


PSD (aka PSD Deployment, aka PowerShell Deployment, aka PowerShell Deployment Extension for MDT) was announced at the 2019 Midwest Management Summit in a session featuring Johan Arwidmark and Mikael Nystrom. This new community tool is a collaborative effort between TrueSec and 2Pint Software, and is intended to bring MDT up-to-date in the scripting realm be eliminating all of the VB Script that was used by MDT, the Microsoft Deployment Toolkit, and replacing it with PowerShell. Ambitiously, it also extends the native imaging functionality to deploy over HTTP/HTTPS protocol instead of the traditional SMB share. To further improve on the native MDT functionality, it can leverage BranchCache by utilizing tools from 2Pint Software to share content in a mass deployment scenario.
These tools combined have the potential to change how imaging is implemented. It also can help administrators of Autopilot deployments fill a large hole in its capabilities by allowing a device to be refreshed at a bare metal level. Since this technology doesn’t rely on a system to be “Reset”, it is possible to install applications with a Task Sequence before the system is sysprepped. This means that Line of Business Apps can be pre-installed in an Autopilot scenario, which can drastically decrease deployment times.
In a basic PSD deployment, like in a traditional MDT deployment, all that’s needed is a single server. Further deployment capabilities, such as PXE, may require additional servers. This post will only cover the installation of the PSD components on a single server.
This server, if intending to deploy images over HTTP, will need to have IIS installed and configured, as well as have ADK and WinPE, and MDT itself. While these systems can be installed individually, the developers of PSD have supplied a Hydration Kit that installs and configures all these components with ease. Currently the Hydration Kit requires that these components, or in the case of ADK and WinPE, the stub installers, be downloaded prior to running the kit. A Windows 10 ISO is also required to automatically create the Task Sequences. The last item required to be downloaded is the PSD installer itself.
In addition to the binaries listed above, a folder that will be used by the MDT Deployment Workbench will need to be provisioned. This will become the Deployment Share. A service account will need to be provided to the Hydration Kit to provide access to the Deployment Share during the imaging process. When PSD is being implemented in an Active Directory Domain, a Domain User account can be provided. In a scenario where PSD is being implemented in a Workgroup environment, a local user account can be created on the PSD server.
Binaries for each prerequisite can be found here:
Notes on ADK:
Starting with version 1809, Windows 10 ADK no longer includes Windows PE as one of its core components, but is now offered as a separate installer. If using 1809+, make sure to download the Windows PE installer.
ADK 1809 is missing two key files for WPF to function correctly and will need to be procured manually for PSD to function. Integrating these files into PSD will be covered later in the post (this walk-through is using the 1809 version).
Instructions on how to find these files is covered here:
https://www.osdeploy.com/blog/winpe-10-1809-wpf-dramarama
ADK 1903 x64 SIM is unable to generate Unattend.XML files. If intending to use ADK 1903, the x86 edition should be used.
Note on Downloading:
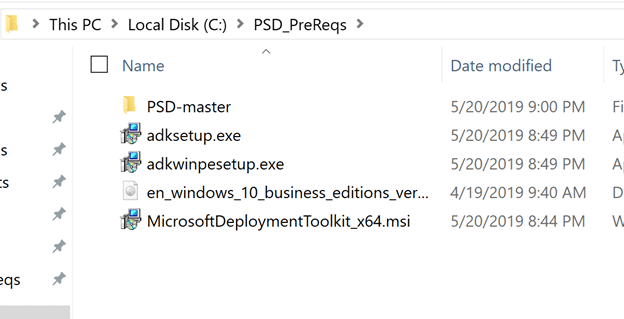
Ensure that the folder that will house the downloaded binaries, specifically the MDT installer, does not contain a space. This will cause MSIEXEC to fail during the installation of MDT, thereby breaking the Hydration Kit.
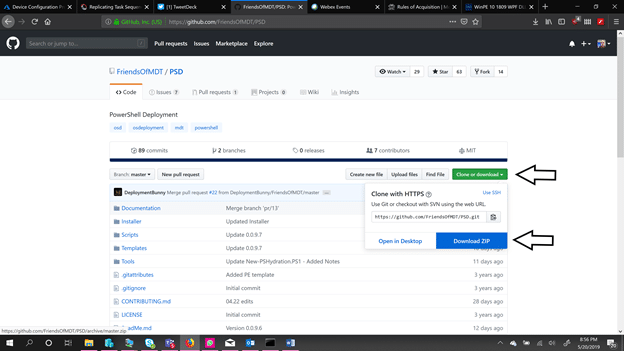
For those unfamiliar with GitHub, to download the entire PSD suite, click the “Clone or download” button, then select “Download Zip”.
Once the ZIP file has been downloaded, extract the contents to a folder.
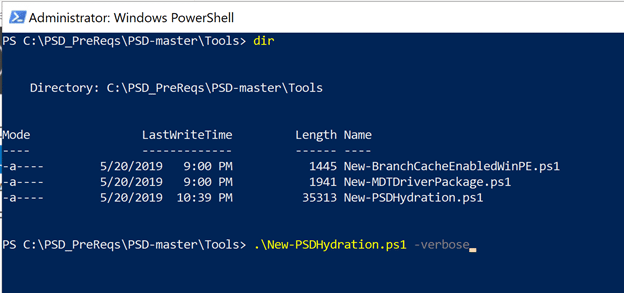
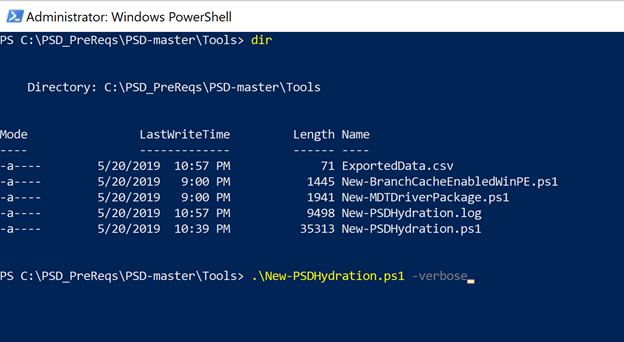
Next, open an Administrative PowerShell window and go to the PSD-master\tools folder of the extracted ZIP file obtained from The Friends of MDT GitHub repo.
Type in the following command to start the installer:
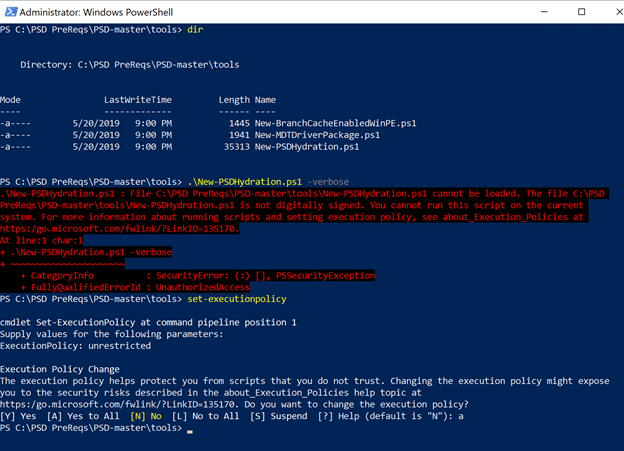
- .\New-PSDHydration.ps1 -verbose
Oh, and don’t forget to change the execution policy like I do every single time…
First Prompt:
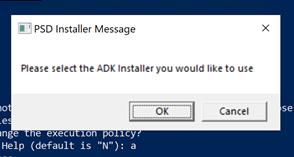
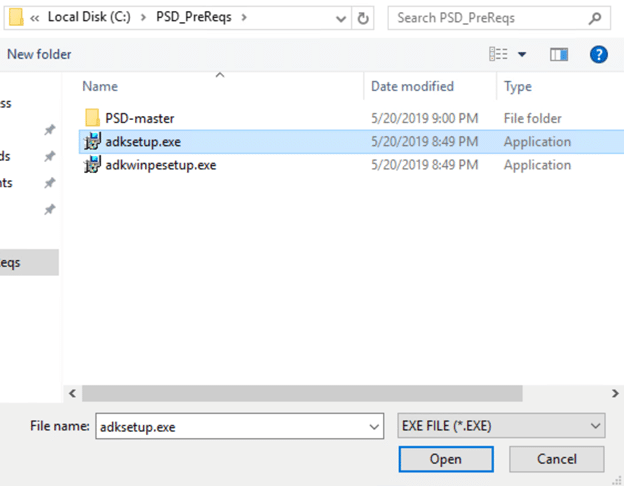
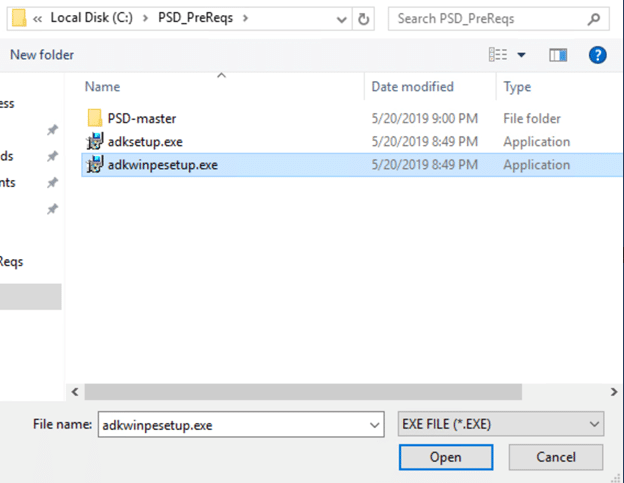
Select the ADK Installer:
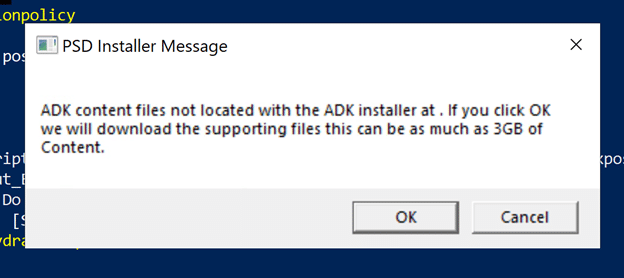
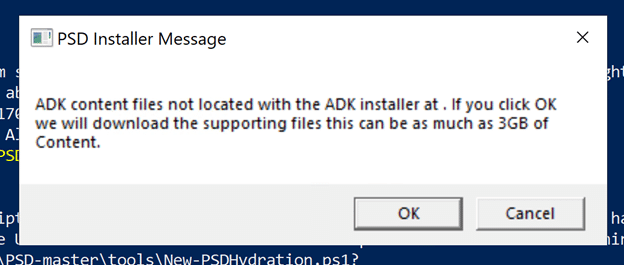
A warning about the size of the download if it hasn’t already been procured. Hit OK to continue:
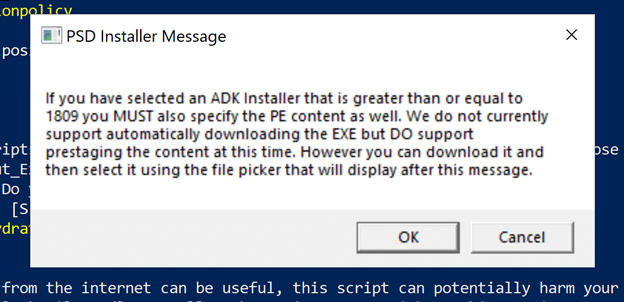
A warning about WinPE and ADK 1809+. Hit OK.
Select WinPE Installer:
A warning about the size of the download if the content hasn’t already been procured. Click OK to continue:
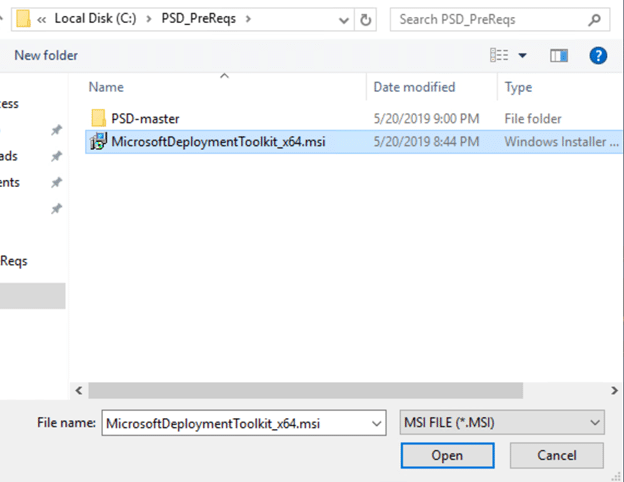
Next, a prompt to locate the MDT installer. Click OK
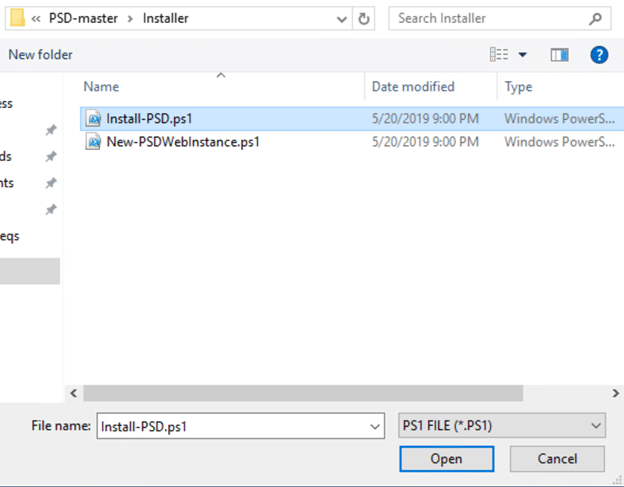
The next prompt is to select the PSD installer. Click OK
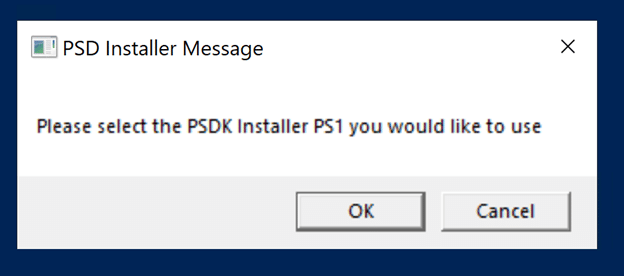
The file can be found under the Installer folder of the PSD-Master folder structure. Select “Install-PSD.ps1” to continue
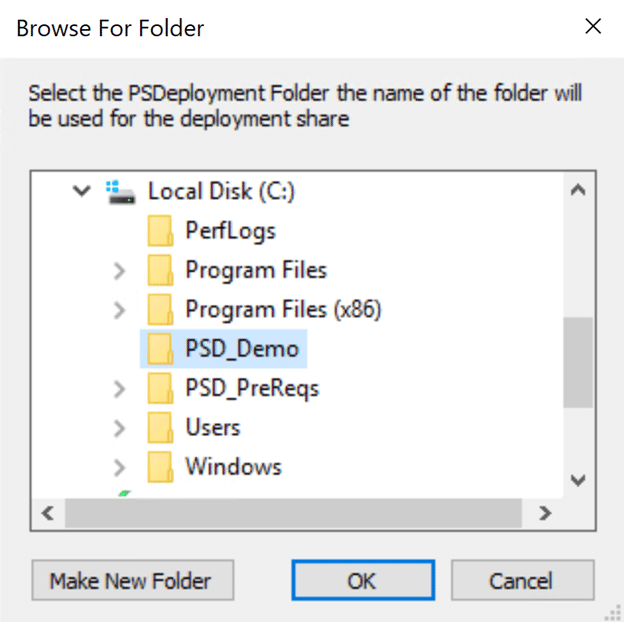
The next prompt will ask for a folder to install the MDT Deployment Workbench that will be used for this installation of PSD. If a folder does not already exist, one can be made by selecting “Make New Folder”
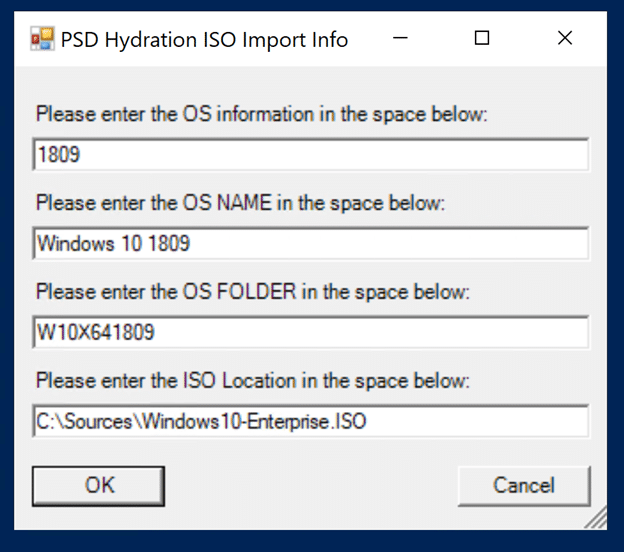
The next prompt asks for the Windows ISO to be imported into MDT that will be used to create the PSD Task Sequences. Please note that with the current version of the Hydration Kit, these values must all be entered manually.
- Note: The file selection option does not provide error checking, so ensure that a file extension is included in the path to the ISO or the installer will fail.
Initial Prompt with default values:
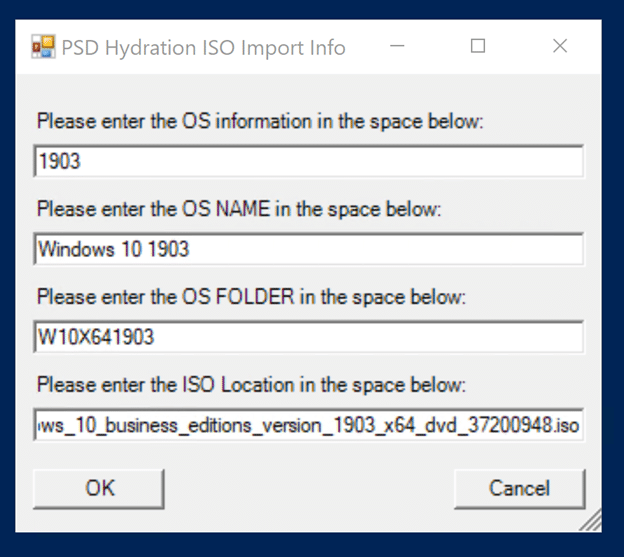
Manually entered information for Win10 1903:
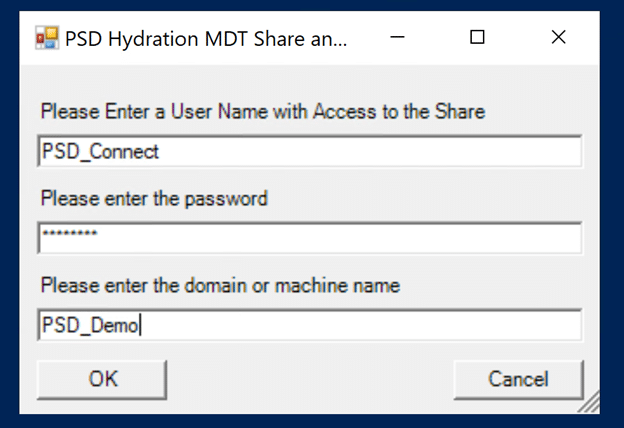
The following prompt is asking for credentials that will be used by the Task Sequence in the Windows PE phase to connect to the share for its content.
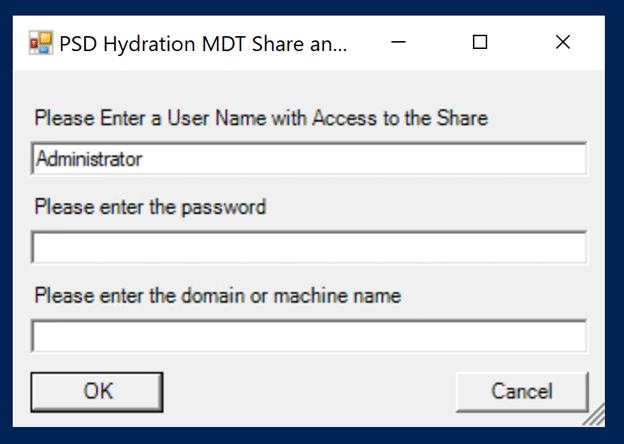
If this is being deployed in an Active Directory Domain, a Domain User account can be provided. In the case of this demo, it is being installed in a Workgroup configuration, and will need to have a local user account provisioned.
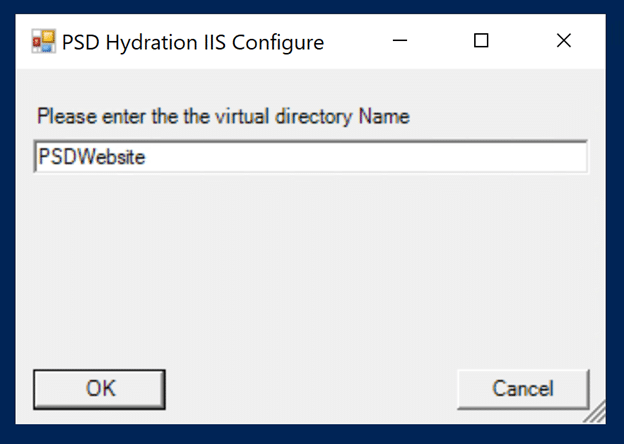
The next prompt asks for the name of the virtual directory for IIS. The default should be fine for most lab scenarios.
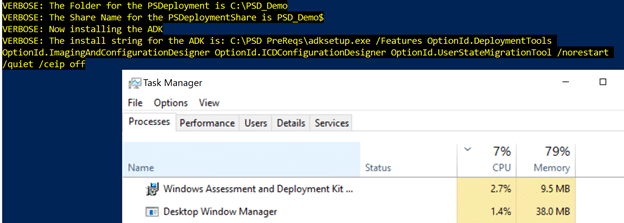
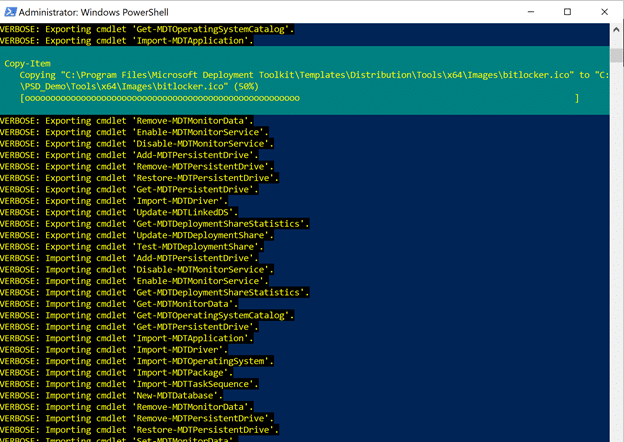
Once all of that has been entered, the Hydration Kit starts to work its magic:
Downloading WinPE takes a while. Go grab a cup of something, take a break, just be patient:

Once Windows PE and MDT have been installed, select “Run Once” if prompted by the following:
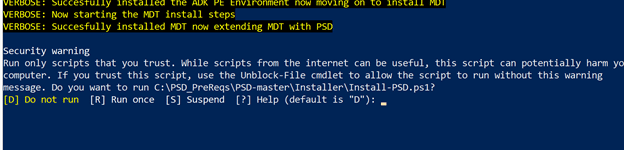
Magic Happening:
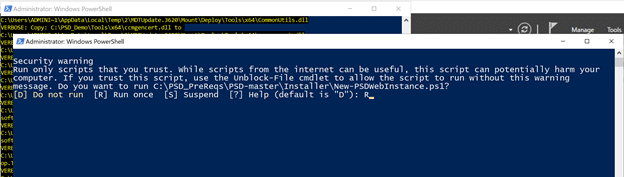
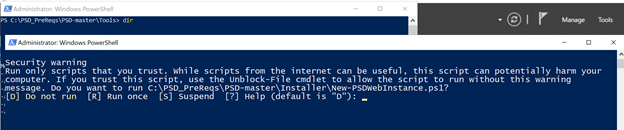
If all goes well, a new PowerShell window should pop up, asking if the script “New-PSDWebInstance.ps1” should be allowed to run. Select “Run Once” to continue.
Installing IIS:
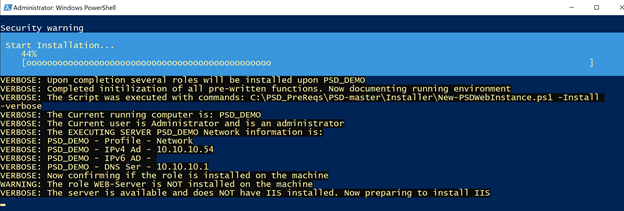
Once the installation of IIS has been completed, the second PowerShell window should close on its own and the primary installation script should complete. Please note the statement on the last line. Reboot the machine.

After the reboot, IIS should be present:
Open PowerShell as an Administrator and go back to the folder that contains the New-PSDHydration.ps1 file and rerun the script.
Immediately, a second PowerShell windows should pop-up, asking if the New-PSDWebInstance.ps1 file should be run. Select “Run once”.
Automatically configuring IIS:
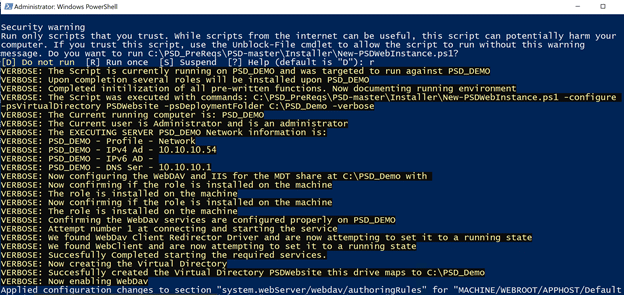
Once the configuration is complete, the second PowerShell window will close, and the primary script will again complete. Note the output from the script.

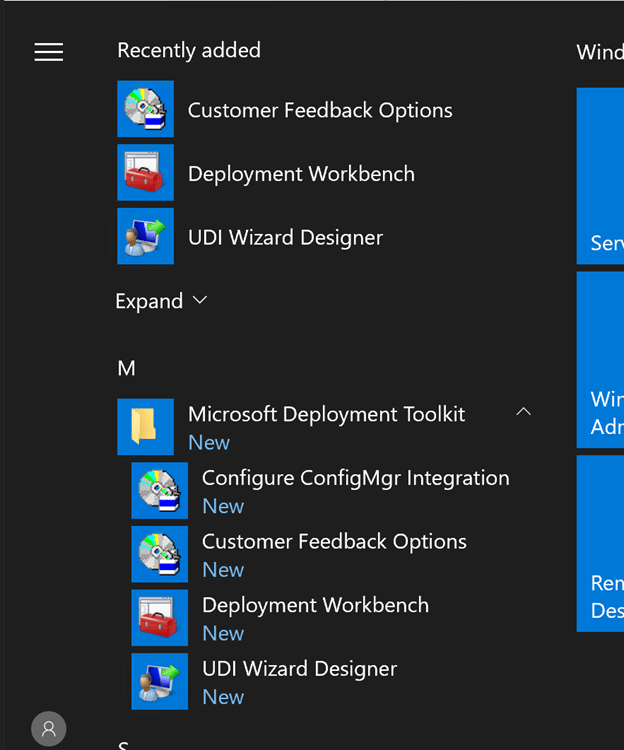
Close the PowerShell window, then go to “Start” and find the “Deployment Workbench” under “Microsoft Deployment Toolkit” and select it.
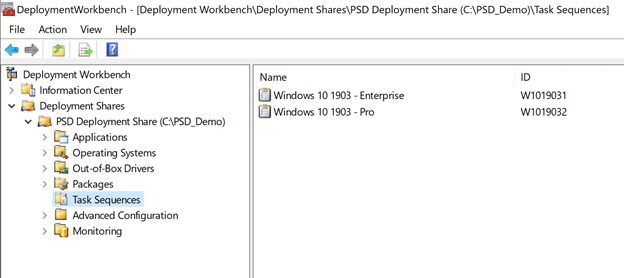
After opening the Deployment Workbench, the Deployment Share we referenced earlier is now listed in the Deployment Workbench. There should also be Task Sequences listed under the “Task Sequences” section.
- If ADK 1809 was used, please complete the following:
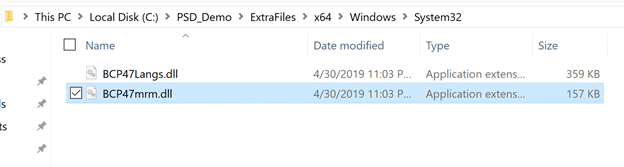
As stated above, ADK 1809 is missing files to properly handle WPF. We need to add these files into the boot.wim for the Task Sequence to function in WinPE. In the root of the Deployment Share (in this case C:\PSD_Demo), create the following folder structure:
\ExtraFiles\x64\Windows\System32
In the System32 folder, copy the two missing files “BCP47Langs.dll” and “BCP47mrm.dll” into this folder:
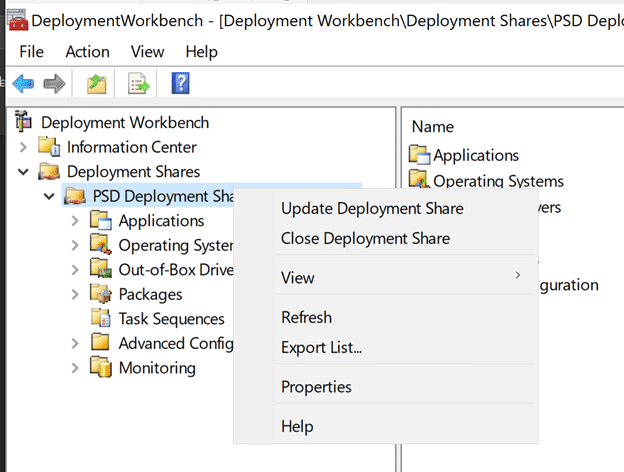
Once the files have been copied, go back to the Deployment Workbench, right click on “PSD Deployment Share”, and select “Properties”
Select the “Windows PE” Tab, change the Platform drop-down to “x64”, and enter the folder “[Deployment Share Folder]\ExtraFiles\x64” into the “Extra directory to add” field. Click OK to complete.
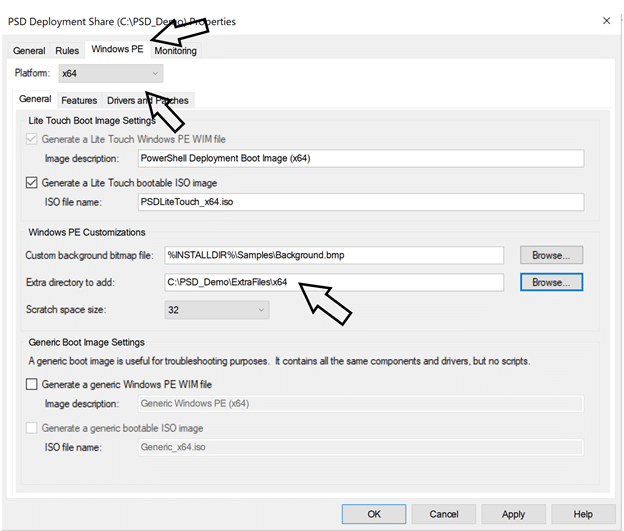
- Note: It is common for this window to freeze and become unresponsive. If that happens, close the Deployment Workbench, and then reopen. Once reopened, the above window can be configured.
At this point, PSD has been installed and configured successfully to deploy the provisioned Bare Metal Task Sequences.
Relevant Links:


Very cool. Looking forward to trying this out.
Very interesting! How can one use this with ConfigMgr OSD with MDT integration?
At this point, you can’t. It is really a stand alone solution.