


System Center 2012 R2 Configuration Manager (ConfigMgr 2012 R2) has now been released and it’s time to upgrade your site servers. This guide will help you along the way to successfully upgrade your current ConfigMgr 2012 SP1 site server to ConfigMgr 2012 R2. I will keep this post upgraded with the latest developments regarding the upgrade process.
Overview
- Verify your hiearchy
- Download software
- Upgrade to Windows ADK 8.1
- Install the latest Windows Updates
- Disable Site Maintenance tasks
- Determine if the SQL Server is supported by ConfigMgr 2012 R2
- Backup the database
- Perform a test upgrade of the database
- Install ConfigMgr 2012 R2
- Upgrade stand alone ConfigMgr consoles
Verify your hiearchy
In order to upgrade to ConfigMgr 2012 R2 all your site servers need to be running ConfigMgr 2012 SP1 at minimum. Only Primary Site server and Central Administration Servers are applicable for upgrading as described in this post. Upgrading Secondary sites will be performed within the console. When you begin with the upgrade process, begin from the top and work your way down. That means that if you have a CAS, you’ll need to upgrade that first. Then continue with the Primary Site servers and finally the Secondary Site servers. If your hierarchy has a CAS, once you’ve upgraded that you’ll have to wait until the replication links between the CAS and Primary Site servers have been established again before you continue with upgrading the Primary Site servers. This process can take a while, so be patient.
Download software
Download the following software to the site server:
- Windows ADK 8.1
- System Center 2012 R2 Configuration Manager
Upgrade to Windows ADK 8.1
1. Uninstall the current Windows ADK 8.0 from the site server.
2. Launch an elevated command prompt and browse to the location where you saved adksetup.exe from the link above.
3. Run the following command line:
adksetup.exe /norestart /q /ceip off /features OptionId.WindowsPreinstallationEnvironment OptionId.DeploymentTools OptionId.UserStateMigrationTool
Windows ADK 8.1 will now be installed in the background. It takes some time since it downloads the three necessary components from the web. The components that are being installed is the following:
- Windows Preinstallation Environment (Windows PE)
- Deployment Tools
- User State Migration Tool (USMT)
Install the latest Windows Updates
Make sure that you’ve installed the latest updates from Windows Update on the site server before you continue. Reboot the server before you continue.
Disable Site Maintenance tasks
Go through the enabled tasks in Site Maintenance for the site server that you’ll upgrade and determine if any of the tasks could interfere with the upgrade. If Site Maintenance tasks run during the upgrade, the upgrade could fail. Disable at least these tasks:
- Backup Site Server
- Delete Aged Client Operations
- Delete Aged Data Discovery
Remember to take a note of those tasks that you’ve disabled and re-enable them once again when the upgrade is complete.
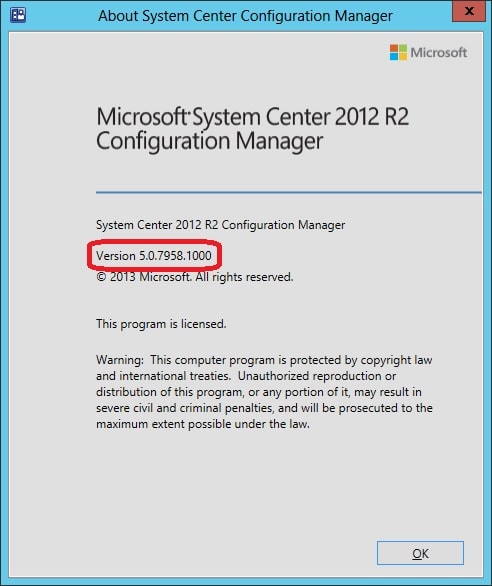
Determine if the SQL Server is supported by ConfigMgr 2012 R2
Check the version of the SQL Server that is running the database of the site server that are about to be upgraded. It would need to be running a supported version for the upgrade to work. More information about the supported configurations can be found here: https://technet.microsoft.com/en-us/library/gg682077.aspx#BKMK_SupConfigSQLDBconfig
Backup the database
Before we continue, go ahead and perform a backup of the database on the site server in question that are being upgraded. If you’ve not backed up the site servers database before, perform the following steps:
1. Open the ConfigMgr console.
2. Go to Administration -> Site Configuration -> Sites -> <select your site>, right-click on the site and choose Site Maintenance.
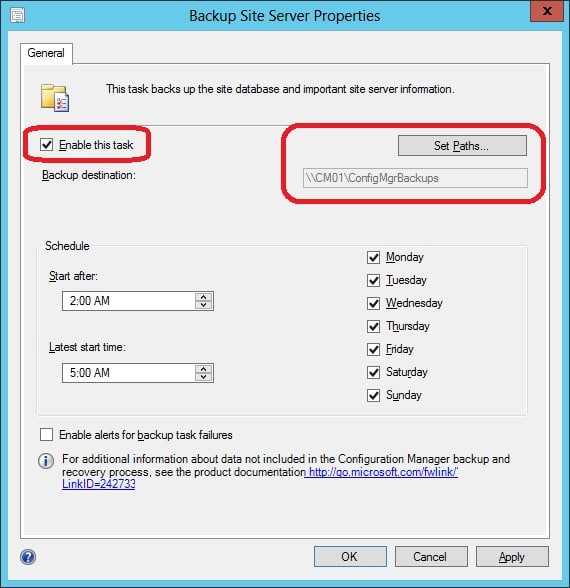
3. Select Backup Site Server and select Edit.
4. Check Enable this task.
5. Click on Set Paths and enter an UNC path to the folder where you wish to backup the database. It’s important that the site server that has the database is given Full Control permissions for both Sharing Permissions and NTFS Permissions.
6. Open services.msc and locate the SMS_SITE_BACKUP service.
7. Right-click on the service and choose Start.
The backup will now run and after a while your database will be backed up in the folder your specified.
Perform a test upgrade of the database
Perform the steps in the following guide to make sure your database is ready to be updated.
Install ConfigMgr 2012 R2
Before you continue, restart the site server so there’s no pending restarts.
1. Mount the downloaded ConfigMgr 2012 R2 ISO to the site server.
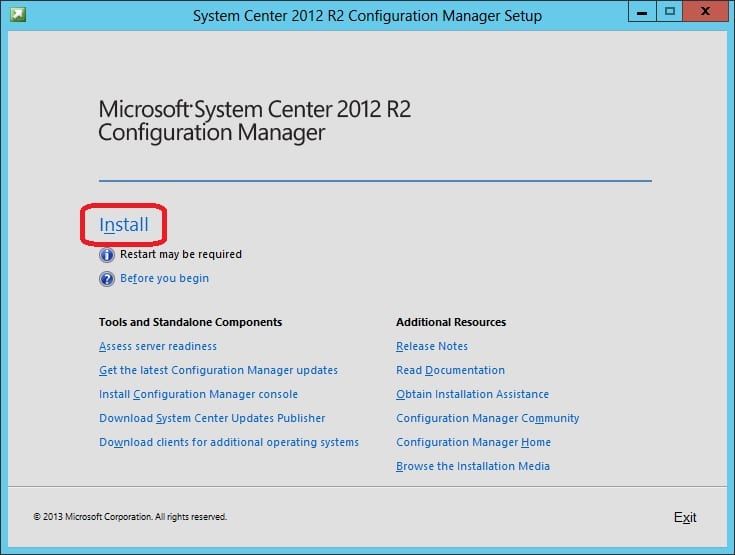
2. Launch splash.hta.
3. Click Install.
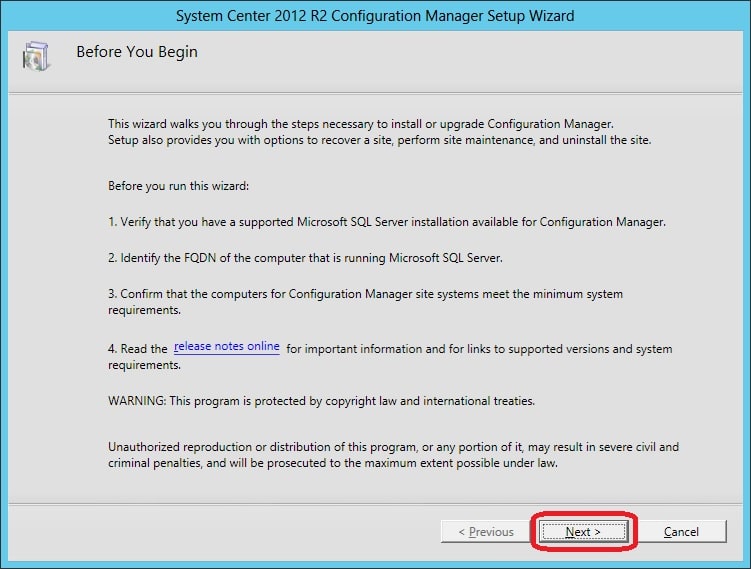
4. On the Before You Begin page, click Next.
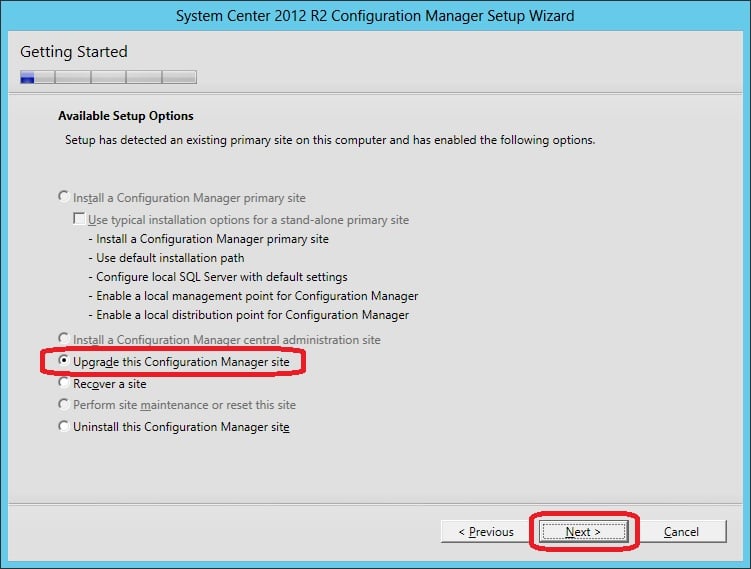
5. On the Getting Started page, make sure Upgrade this Configuration Manager site is selected and click Next.
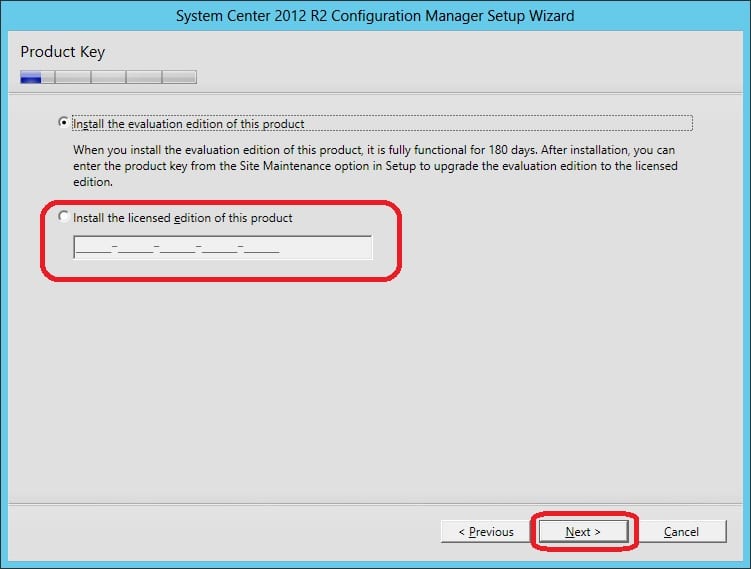
6. Enter your product key if necessary on the Product Key page and click Next.
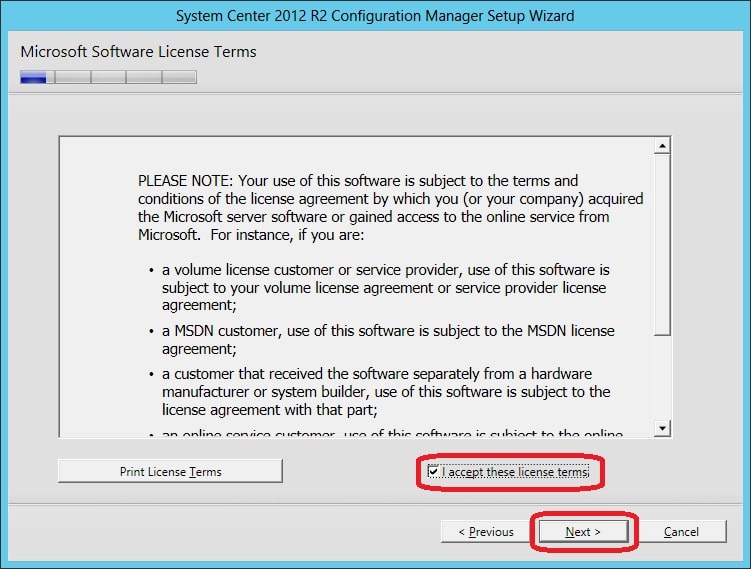
7. On the Microsoft Software License Terms page, accept the license terms and click Next.
8. On the Prerequisite Licenses page, accept all license terms and click Next.

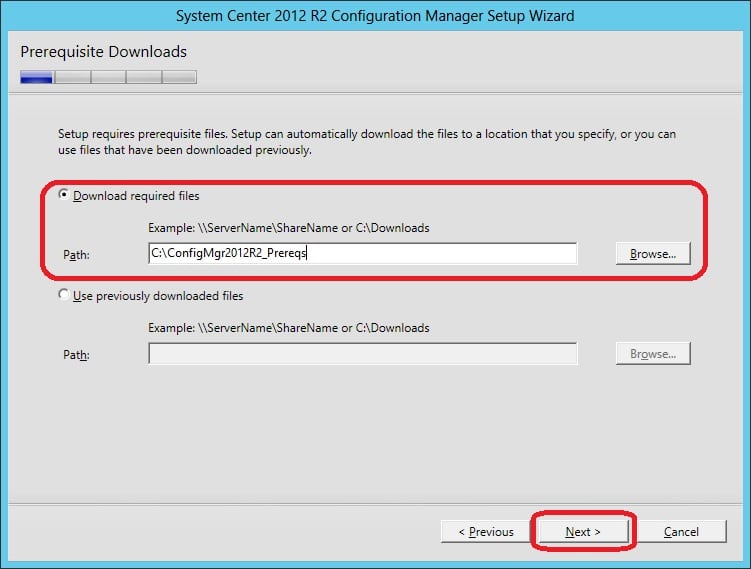
9. On the Prerequisite Downloads page, select Download required files and select a folder to store the files. For example store them in C:\ConfigMgr2012R2_Prereqs. Click Next.
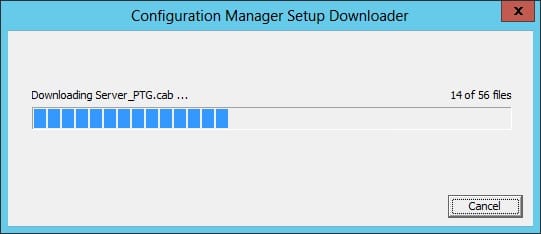
10. Wait for the downloads to complete.
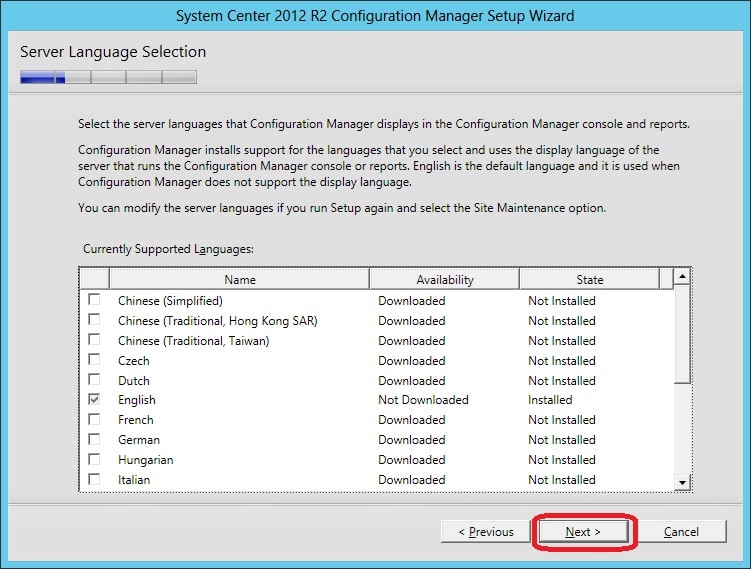
11. On the Server Language Selection page, make sure the correct languages for your environment is selected and click Next.
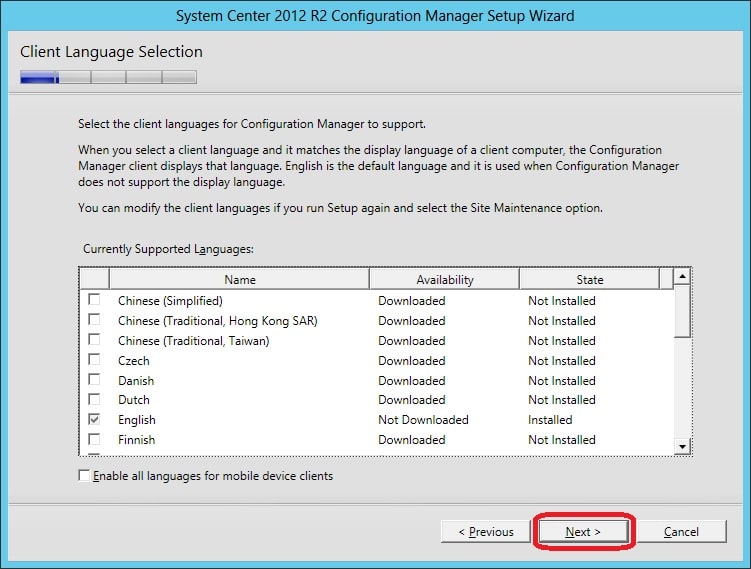
12. On the Client Language Selection page, make sure the correct languages for your environment is selected and click Next.
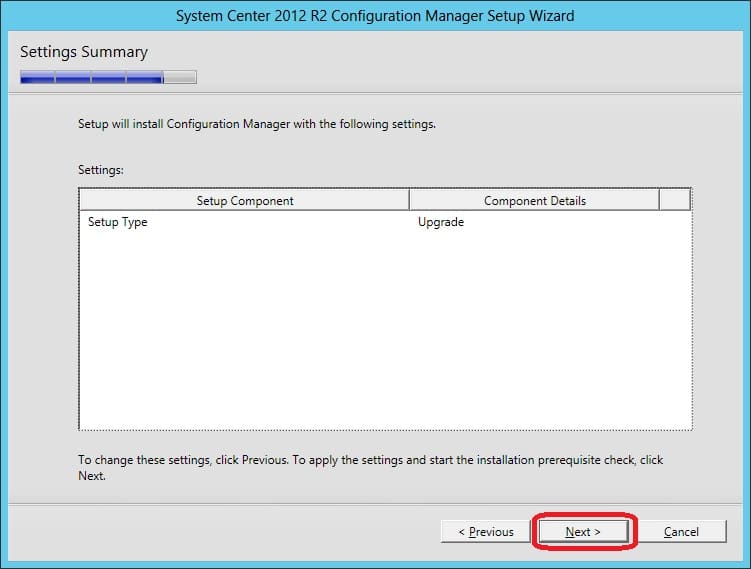
13. On the Settings Summary page, click Next.
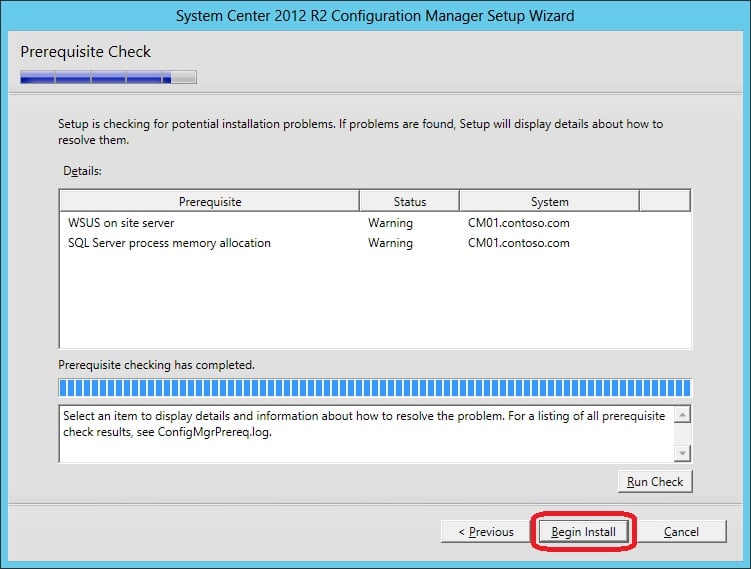
14. On the Prerequisite Check page, remediate any error messages shown in the wizard. If you see any warnings, determine if you’re able to continue without fixing them. When ready, click Begin Install.
15. The upgrade will now start. Wait for it to finish.
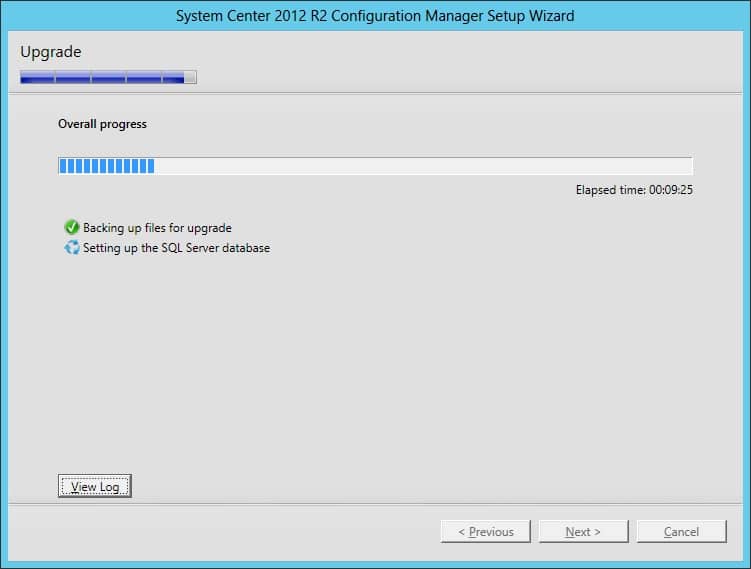
16. Once the upgrade has finished click on Close.

Upgrade stand alone ConfigMgr consoles
When upgrading a CAS or Primary Site server, the ConfigMgr console is updated automatically. But for stand alone consoles, they need to be updated manually.
1. Mount the ConfigMgr 2012 R2 ISO on the system in question.
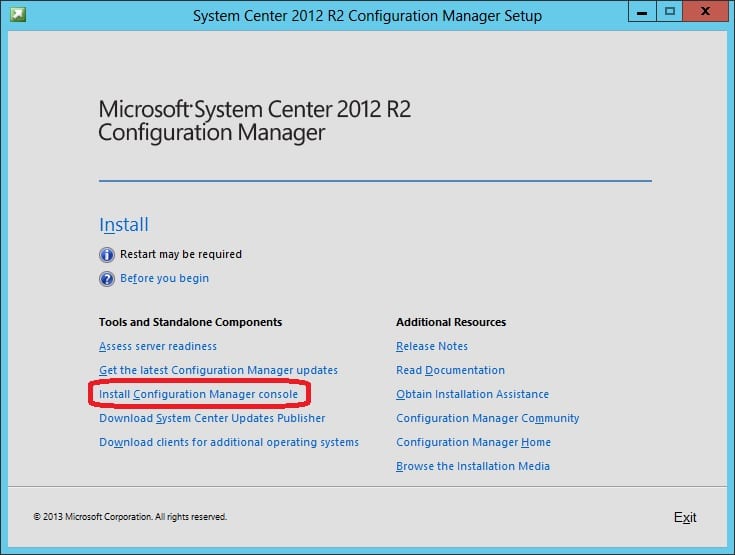
2. Launch splash.hta.
3. Click on Install Configuration Manager console.
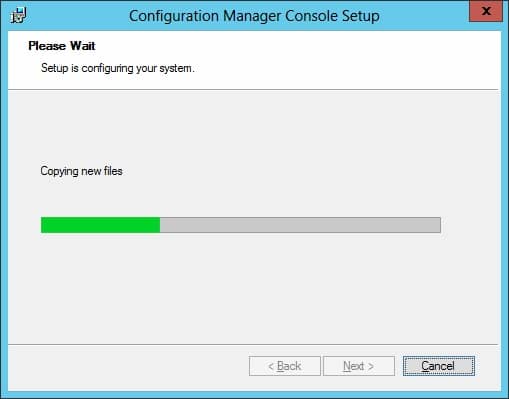
4. The installation will now begin, wait for it to finish.
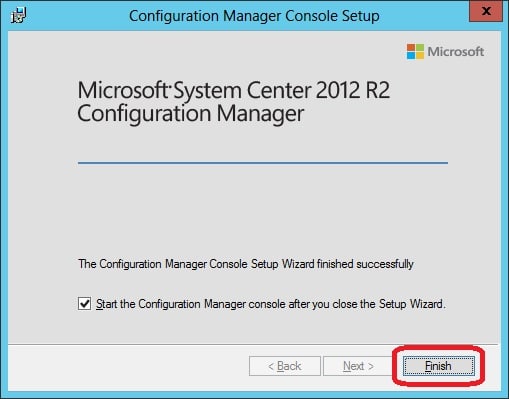
5. The ConfigMgr console has now been upgraded to R2 aswell.
That’s all, the site server has now been upgraded to ConfigMgr 2012 R2.


Add comment