


This post will cover the necessary steps in order to prepare a SQL Server 2012 SP1 installation for ConfigMgr 2012 SP1.
Overview
- Create Active Directory accounts
- Prepare for the installation
- Install SQL Server 2012 SP1
- Install SQL Server 2012 SP1 CU2
- Configure SQL Server memory
Create Active Directory accounts
Before you begin two Active Directory accounts needs to be created. The accounts could be named something like:
- SQL_SDE (Server Database Engine account)
- SQL_SA (Server Agent account)
Permissions for Server Database Engine account in Active Directory needs to be modified in order to automatically create the SPN’s correctly when the Database Engine service starts for the first time. Refer to this artice and perform Step 3: https://support.microsoft.com/kb/319723
Prepare for the installation
For a successfully install of SQL Server 2012 SP1, you’ll need this at hand:
- SQL Server 2012 SP1 installation media (download the ISO from MVLSC)
- SQL Server 2012 SP1 CU2 (https://support.microsoft.com/kb/2790947/en-us)
- A Windows Server 2008 R2 SP1 x64 server (minimum) with atleast 10GB memory
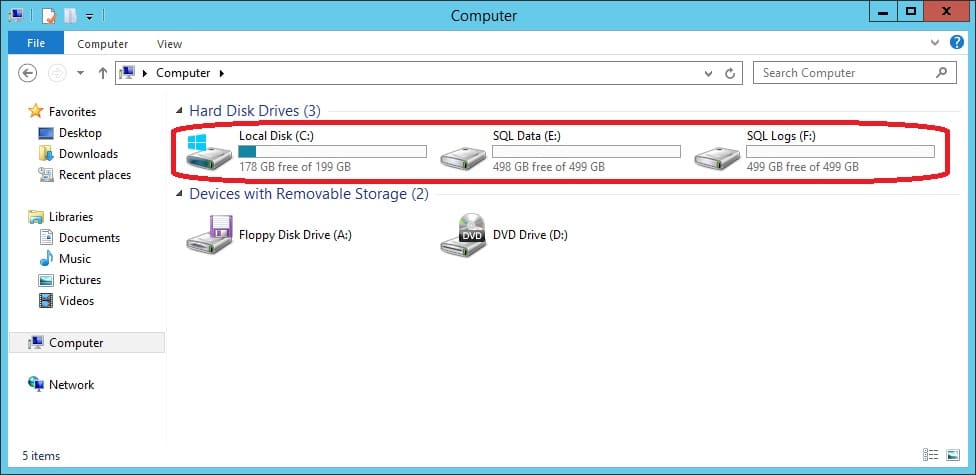
- Optional: Disk configuration consisting of 3 volumes for optimal performance, see picture below
1. Before you begin, .NET Framework 3.5.1 needs to be installed. Run the following command in an elevated PowerShell command prompt:
Add-WindowsFeature NET-framework-Core
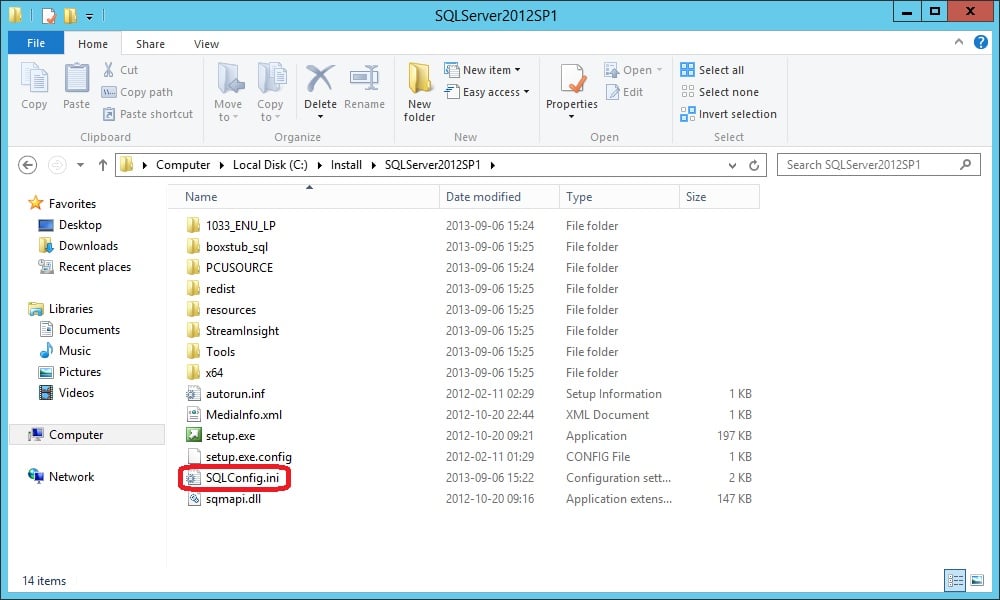
2. Save the below configuration settings to a .ini file, e.g. SQLConfig.ini in C:\Install\SQLServer2012SP1. Make sure that you change the following rows for it to work in your environment:
- SQLSVCACCOUNT=”CONTOSO\SQL_SDE”
- SQLSVCPASSWORD=”P@$$w0rd“
- AGTSVCACCOUNT=”CONTOSO\SQL_SA”
- AGTSVCPASSWORD=P@$$w0rd (this row should not contain any quotes)
- SQLSYSADMINACCOUNTS=”CONTOSO\Administrator” “BUILTIN\Administrators”
[OPTIONS]
; General
ACTION="Install"
ENU="True"
QUIET="False"
QUIETSIMPLE="True"
UpdateEnabled="False"
UpdateSource="MU"
INDICATEPROGRESS="False"
HELP="False"
IACCEPTSQLSERVERLICENSETERMS="True"
; Directories
INSTALLSQLDATADIR="E:\Microsoft SQL Server"
SQLTEMPDBDIR="E:\Microsoft SQL Server\MSSQL11.MSSQLSERVER\MSSQL\Data"
SQLTEMPDBLOGDIR="F:\Microsoft SQL Server\MSSQL11.MSSQLSERVER\MSSQL\Data"
SQLUSERDBDIR="E:\Microsoft SQL Server\MSSQL11.MSSQLSERVER\MSSQL\Data"
SQLUSERDBLOGDIR="F:\Microsoft SQL Server\MSSQL11.MSSQLSERVER\MSSQL\Data"
SQLBACKUPDIR="E:\Microsoft SQL Server\Backup\Data"
INSTALLSHAREDDIR="C:\Program Files\Microsoft SQL Server"
INSTALLSHAREDWOWDIR="C:\Program Files (x86)\Microsoft SQL Server"
INSTANCEDIR="E:\Microsoft SQL Server"
; Configuration
FEATURES=SQLENGINE,RS,SSMS,ADV_SSMS
INSTANCENAME="MSSQLSERVER"
INSTANCEID="MSSQLSERVER"
SQMREPORTING="False"
ERRORREPORTING="False"
SQLCOLLATION="SQL_Latin1_General_CP1_CI_AS"
X86="False"
COMMFABRICPORT="0"
COMMFABRICNETWORKLEVEL="0"
COMMFABRICENCRYPTION="0"
MATRIXCMBRICKCOMMPORT="0"
FILESTREAMLEVEL="0"
ENABLERANU="False"
TCPENABLED="1"
NPENABLED="1"
; Accounts
SQLSVCACCOUNT="CONTOSO\SQL_SDE"
SQLSVCPASSWORD="P@$$w0rd"
SQLSVCSTARTUPTYPE="Automatic"
AGTSVCACCOUNT="CONTOSO\SQL_SA"
AGTSVCPASSWORD=P@$$w0rd
AGTSVCSTARTUPTYPE="Automatic"
RSSVCACCOUNT="NT Service\ReportServer"
RSSVCSTARTUPTYPE="Automatic"
SQLSYSADMINACCOUNTS="CONTOSO\Administrator" "BUILTIN\Administrators"
BROWSERSVCSTARTUPTYPE="Disabled"
ADDCURRENTUSERASSQLADMIN="False"
3. Copy the contents of the SQL Server 2012 SP1 installation ISO into C:\Install\SQLServer2012SP1.
4. Open an elevated command prompt and browse to C:\Install\SQLServer2012SP1.
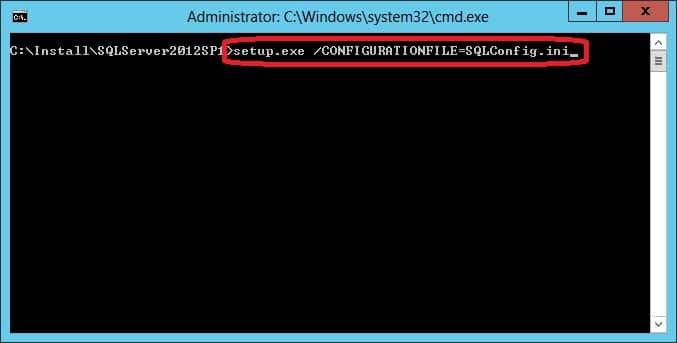
5. Run the following command:
setup.exe /CONFIGURATIONFILE=SQLConfig.ini
6. The installation will now commence and you’ll see the progress on the screen. Since you’re launching the installation with all the necessary options from the SQLConfig.ini file, you won’t have to go though the long and time consuming SQL server installation wizard. Below picture is a screenshot of the progress of the installation. Once the installation has completed, the window will disappear.

Install SQL Server 2012 SP1 CU2
Why do you need to apply the CU2 update? If you examine the ConfigMgr 2012 SP1 prerequisites for a minimum configuration of SQL Server 2012 it says atleast SP1. But in SP1 there’s a known bug with NGEN that causes msiexec.exe into a loop. If you’d like to add the Reporting Services feature to take advantage of the built-in reports of ConfigMgr 2012 SP1, the installation of that Site System will fail. So in order to be able to install the Reporting Services point, CU2 for SQL Server 2012 SP1 needs to be applied. This Connect article shows a more detailed description of the issue: https://connect.microsoft.com/SQLServer/feedback/details/770630/msiexec-exe-processes-keep-running-after-installation-of-sql-server-2012-sp1#
1. Download the hotfix from the following URL: https://support.microsoft.com/kb/2790947/en-us
2. Extract the contents of the .exe file to C:\Install\SQLServer2012SP1CU2.
3. Launch SQLServer2012-KB2790947-x64.exe.
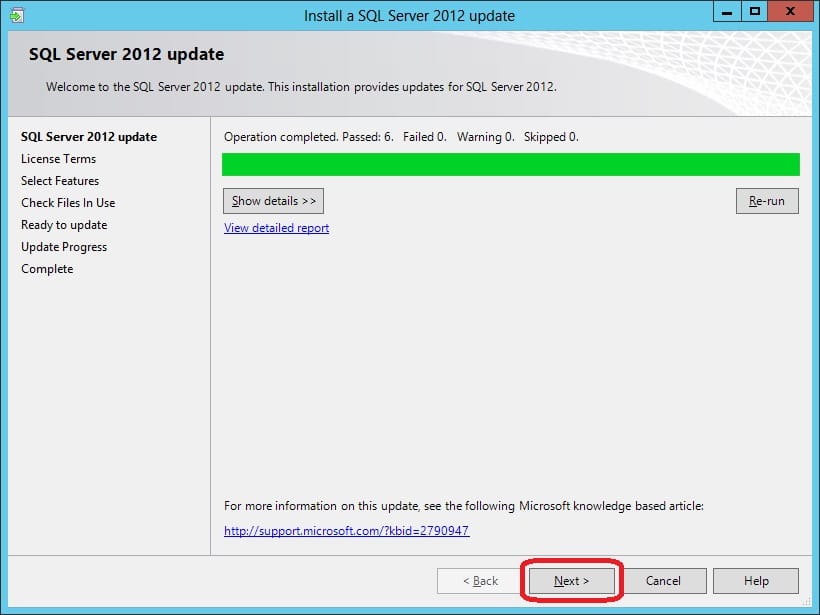
4. On the SQL Server 2012 update page, click Next.
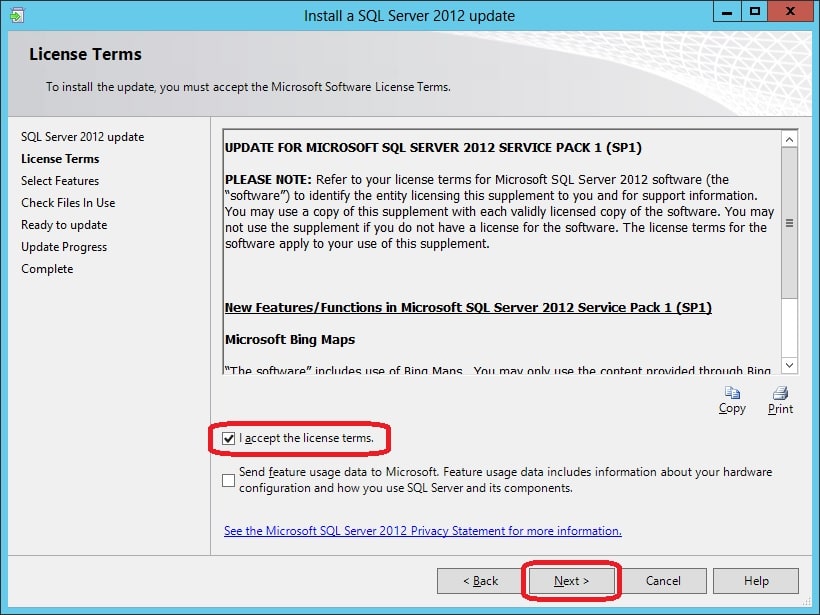
5. On the License Terms page, check I accept the license terms and click Next.
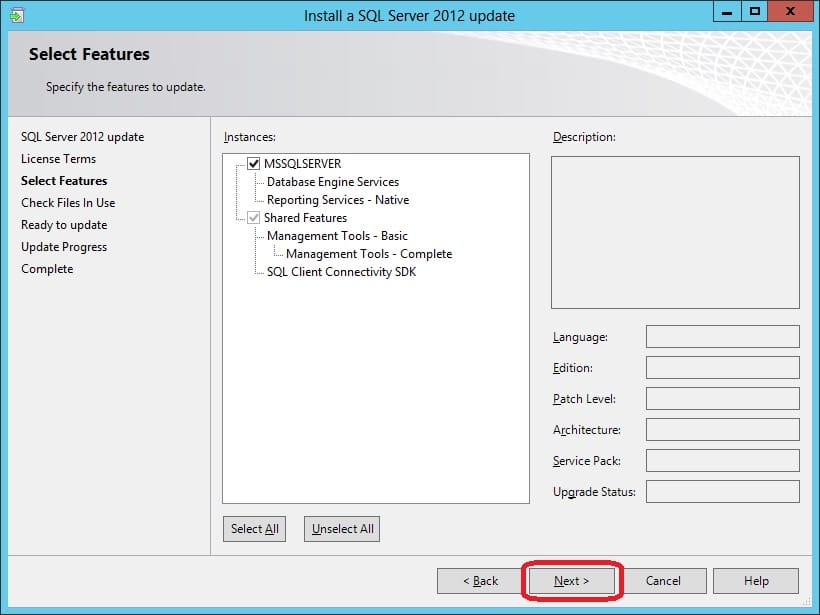
6. On the Select Features page, click Next.
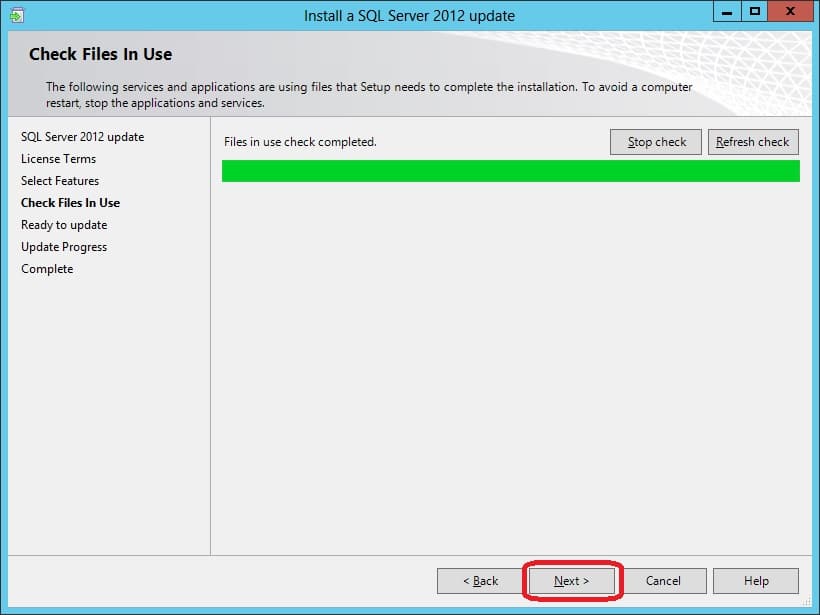
7. On the Check Files In Use page, click Next.
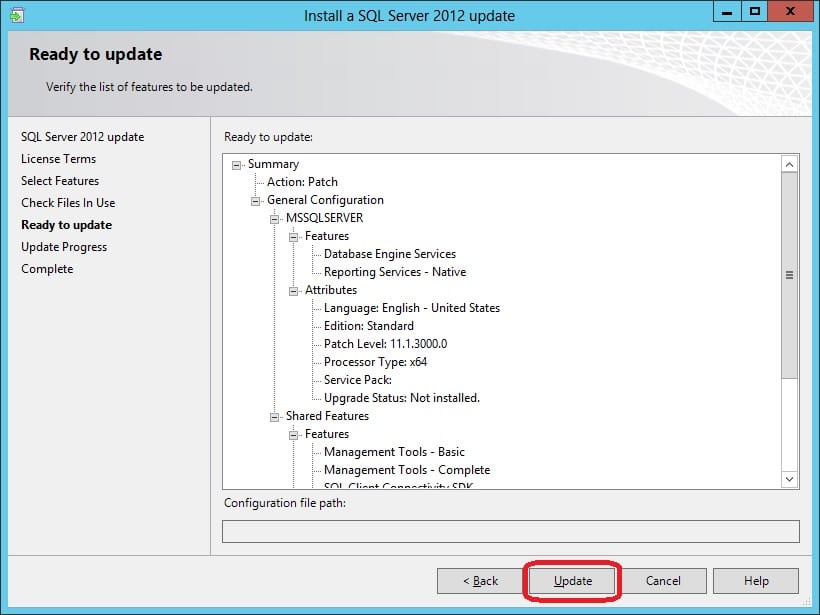
8. On the Ready to update page, click Update.
9. Once the update process has completed, click Close.

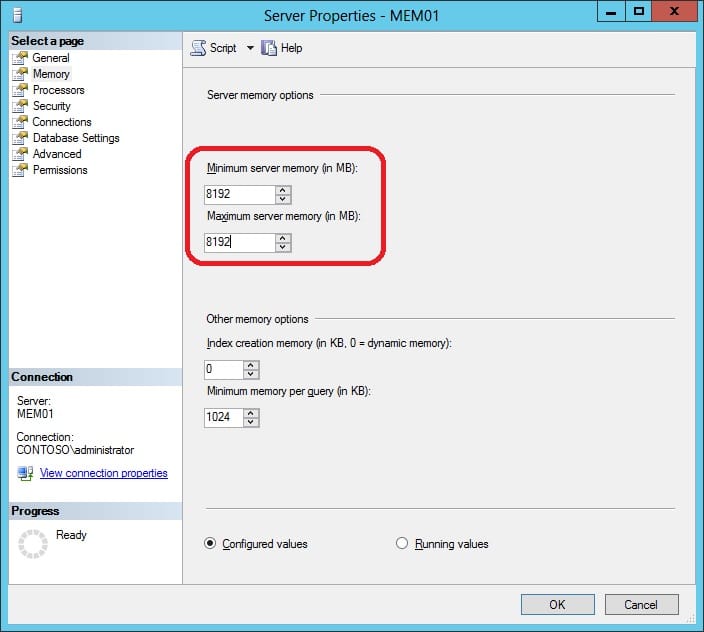
Configure SQL Server memory
When installing ConfigMgr 2012 SP1 it gives you a warning in the prerequisites checker if you havn’t configured the minimum memory usage on the SQL Server.
1. Launch Microsoft SQL Server Management Studio.
2. Right-click on the SQL Servers hostname in the Object Explorer pane, choose Properties.

3. Click on the Memory page to the left.
4. In the Minimum server memory and Maximum server memory fields, enter 8192. In my opinion it’s not good to let the SQL Server eat up all the memory available.
Your SQL Server 2012 SP1 server is now ready for ConfigMgr 2012 SP1 installation.


Hello,
I really like your blog. Lots of useful information 🙂
I have a question about SQL service accounts.
Do I have to configure SPN only for SQL_SDE (Server Database Engine account) or even for other services like SQL_SA (Server Agent account) or Report Service?
Hi Binary,..:1433:1433
Thank you very much 🙂
It’s sufficient enough to only register the SPN for the SQL_SDE service account, like the following:
MSSQLSvc/
MSSQLSvc/
Regards,
Nickolaj