


Windows 10 brings new management capabilities to the table in addition to the traditional management solutions like ConfigMgr that manages the OS through a locally installed agent. Microsoft have embedded an OMA-DM agent with a variety of settings that can be managed through either ConfigMgr (by using Configuration Items and Baselines) or Microsoft Intune with Custom Configuration Policies for Windows 10 Mobile Devices. What is OMA-DM you may think? OMA-DM is a device management protocol specified by the Open Mobile Alliance (OMA) Device Management (DM) with a focus on managing mobile devices. With this new and much welcome addition to Windows 10, as of writing, there’s a limit to what can be managed. If you’re looking to replacing Group Policy Management for your Windows 10 devices with OMA-DM, you’ll have to wait a while. Managing Windows 10 through OMA-DM should not be classified as a Group Policy replacement, instead look at it as an additional management method for mobile devices for a mobile first world.
In this post I’ll walk you through what you need to know in order to successfully manage a Windows 10 device through the OMA-DM protocol with Microsoft Intune.
Management Capabilities with Intune
Microsoft Intune has the capability to deploy Custom Configuration Policies for Windows 10 devices that defines OMA-URI (Open Mobile Alliance Uniform Resource Identifier) settings used to control features on Windows 10. The available settings have been well documented by Microsoft on TechNet and is available here:
https://technet.microsoft.com/en-us/library/mt126215.aspx
As of writing, the OMA-URI settings are divided into 3 main areas, including:
- Policies
- Windows Defender
- Microsoft Edge
It’s my understanding that Microsoft plans to extend the areas of the OS in regards to what can be managed with more OMA-URI settings. An OMA-URI setting is defined by the following:
- OMA-URI full path
- Data type
- Allowed values / Default value
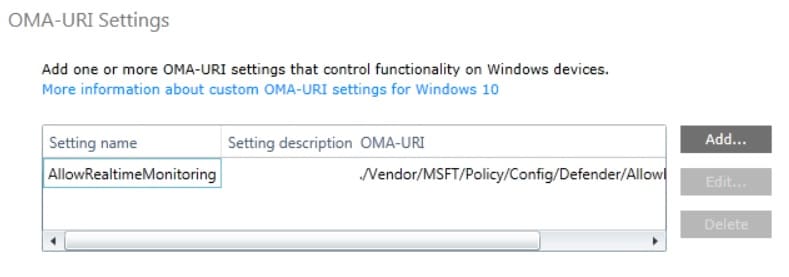
What’s most important of the above to be familiar with is the OMA-URI full path since that define what setting you’re working with. At a first glance it looks familiar for a Unix person browsing the file system, which at least makes sense to me. Below is a screenshot taken from a Custom Configuration Policy in Microsoft Intune illustrating how you define the OMA-URI:
Creating a Custom Configuration Policy
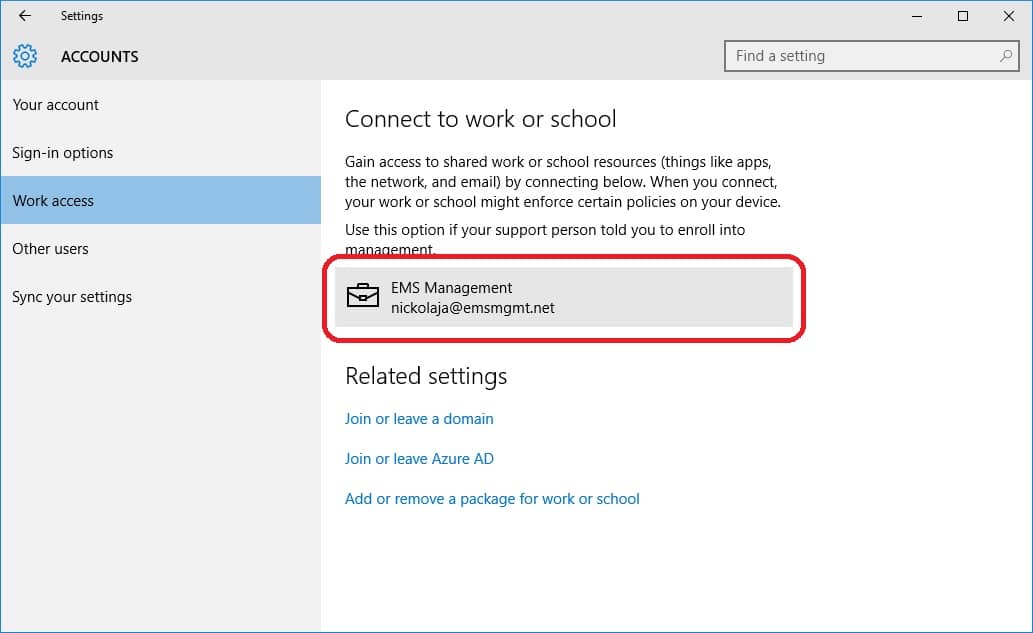
Before you create a Custom Configuration Policy for Windows 10 in Microsoft Intune, you’ll need to have your tenant up and running configured properly and have at least one Windows 10 device managed by it. For demonstration purposes, I’ve joined a Windows 10 Enterprise device running build 10240 to Azure AD and enrolled the device with Intune as seen in the screenshot below:
For the post I’ve decided to create a Custom Configuration Policy that manages Excluded Process in Windows Defender. The OMA-URI setting to accomplish this is the following:
./Vendor/MSFT/Policy/Config/Defender/ExcludedProcesses
I’ve also created a Device Group that I called Windows 10 Devices that includes my Windows 10 device. Once everything is setup and you’ve successfully enrolled your device, let’s go ahead and create the policy in Microsoft Intune.
- Login to the manage.microsoft.com portal with your Global Administrator account.
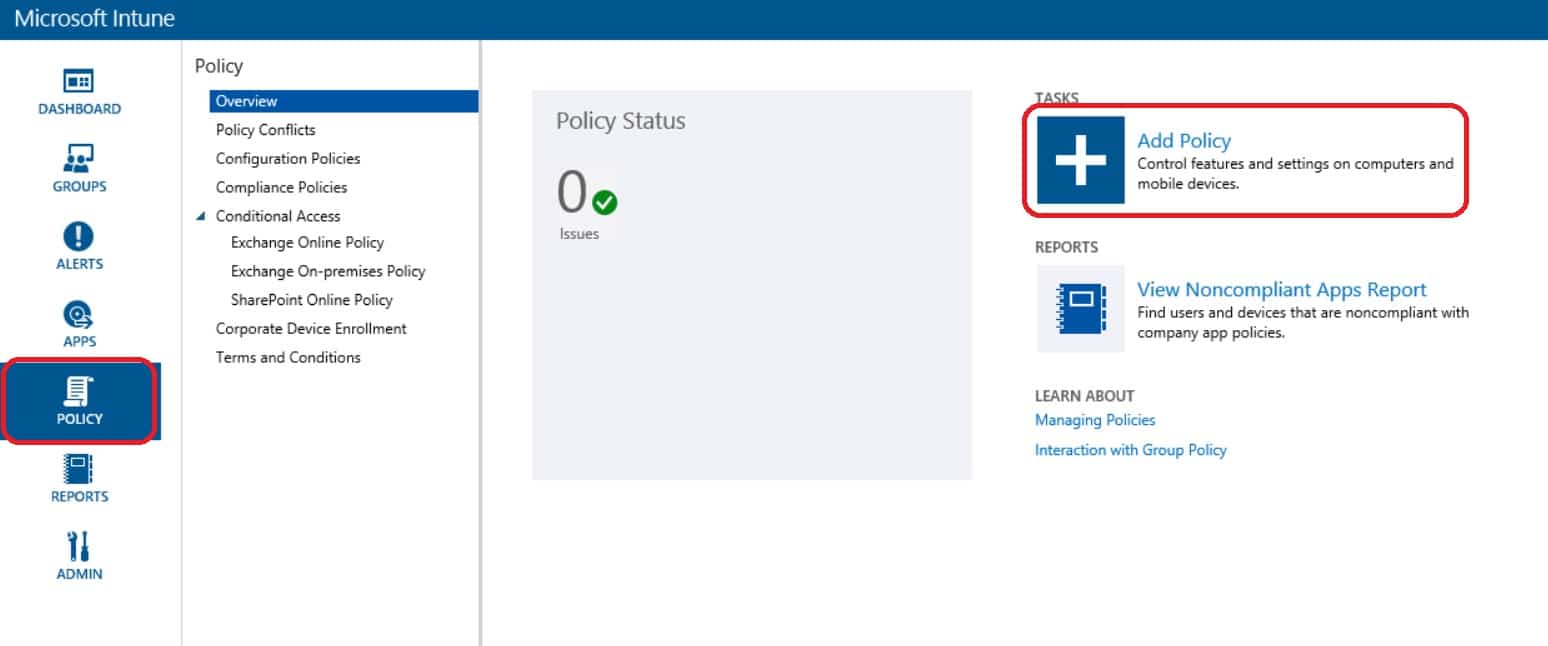
- Go to Policy and click on Add Policy.

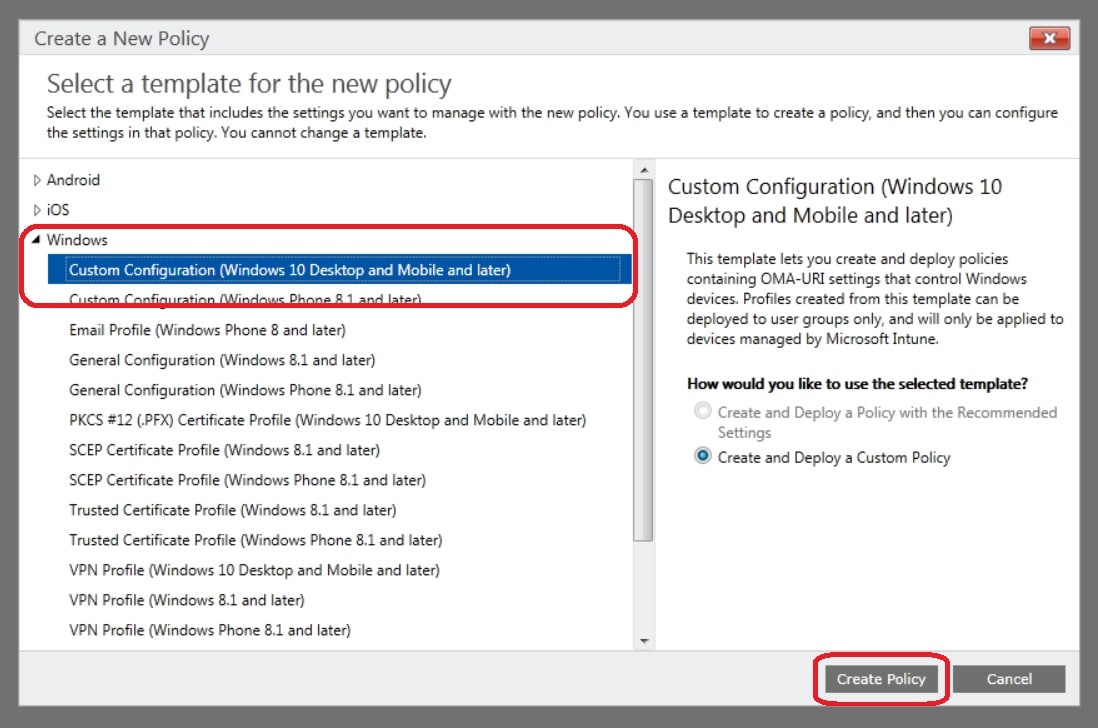
- Expand Windows, select Custom Configuration (Windows 10 Desktop and Mobile and later) and click on Create Policy.

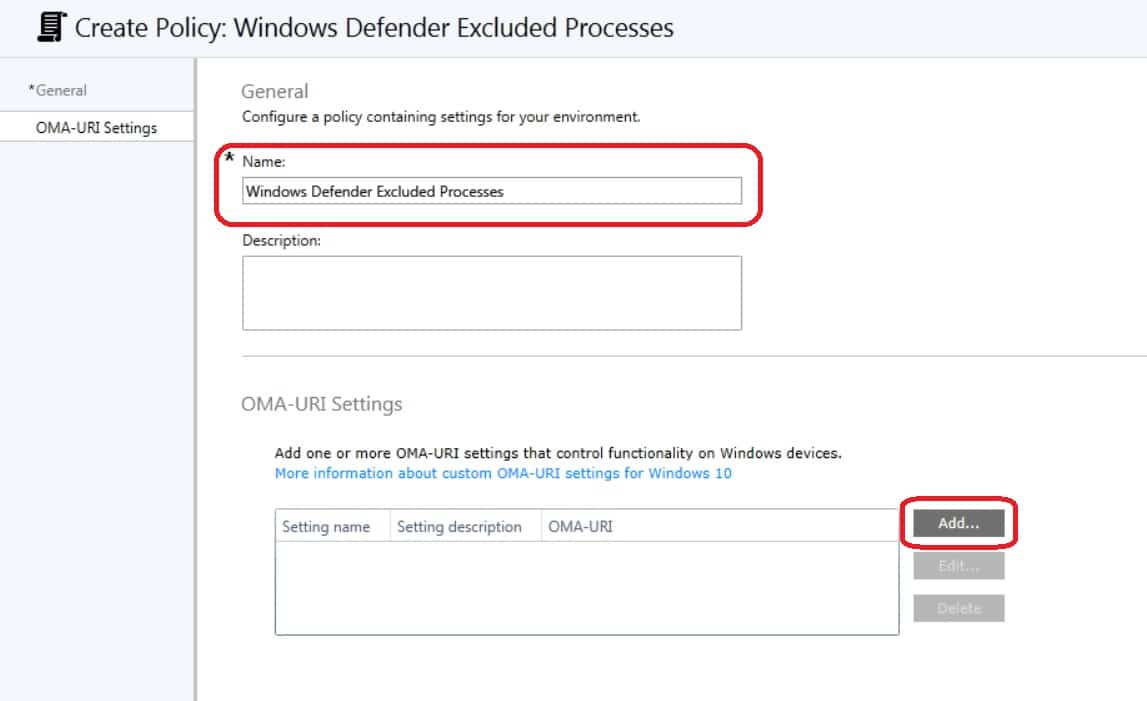
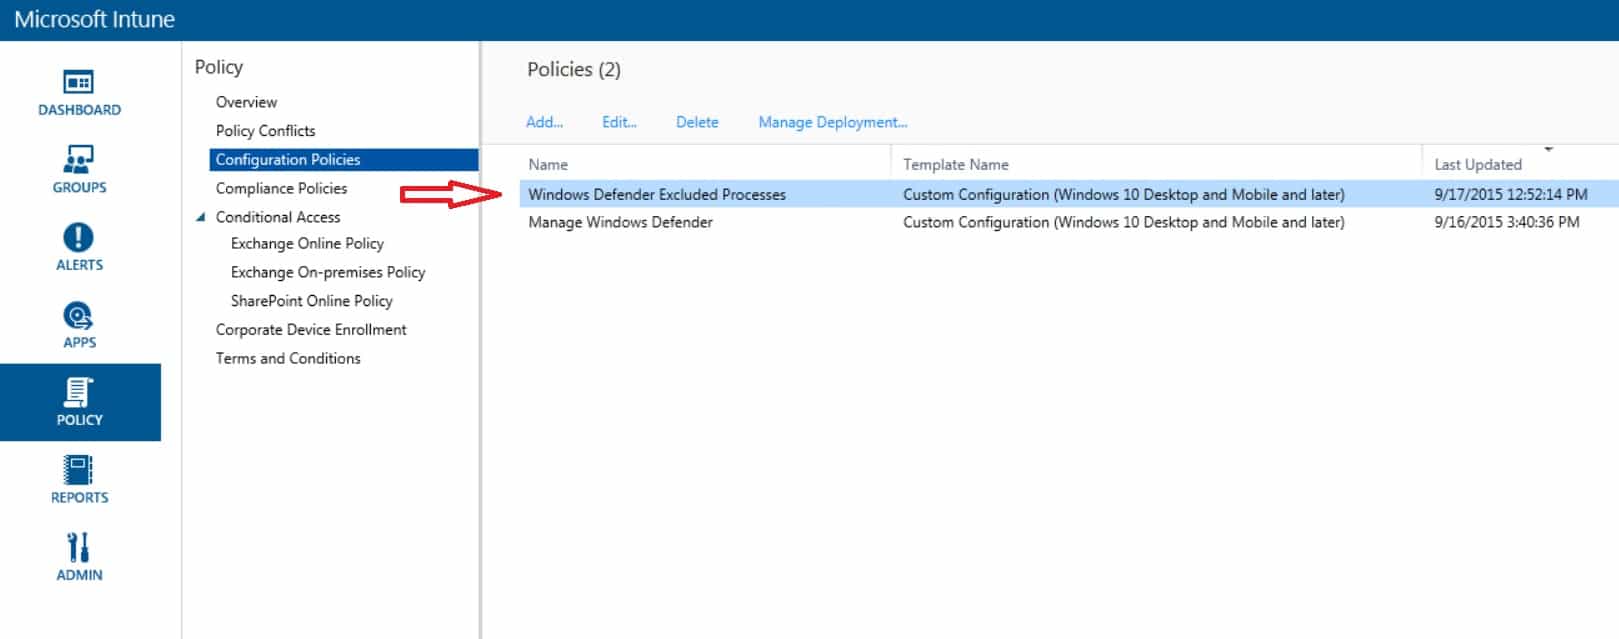
- Enter a name e.g. Windows Defender Excluded Processes and click on Add.

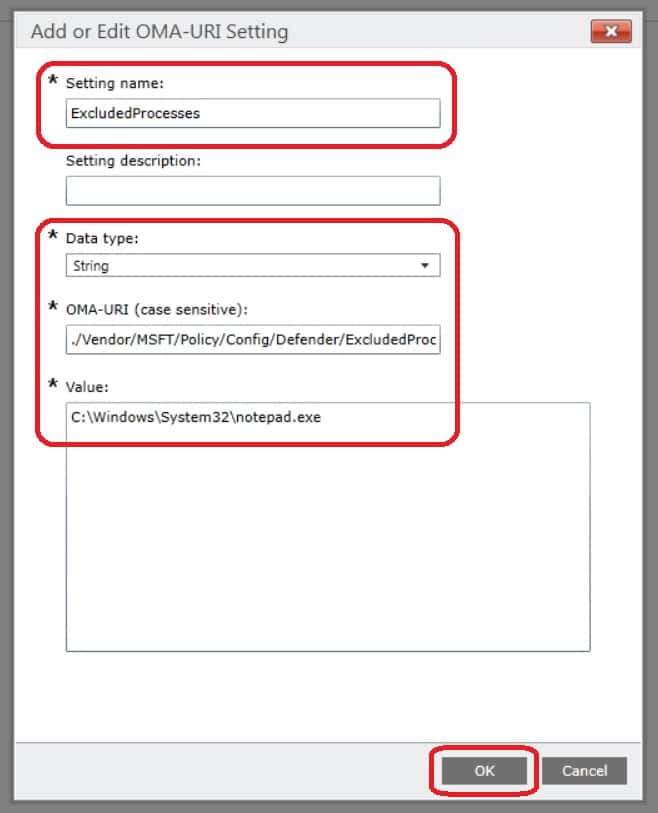
- Configure accordingly:Setting name: ExcludedProcesses
Data type: String
OMA-URI (case sensitive): ./Vendor/MSFT/Policy/Config/Defender/ExcludedProcesses
Value: C:\Windows\System32\notepad.exeClick OK when done.

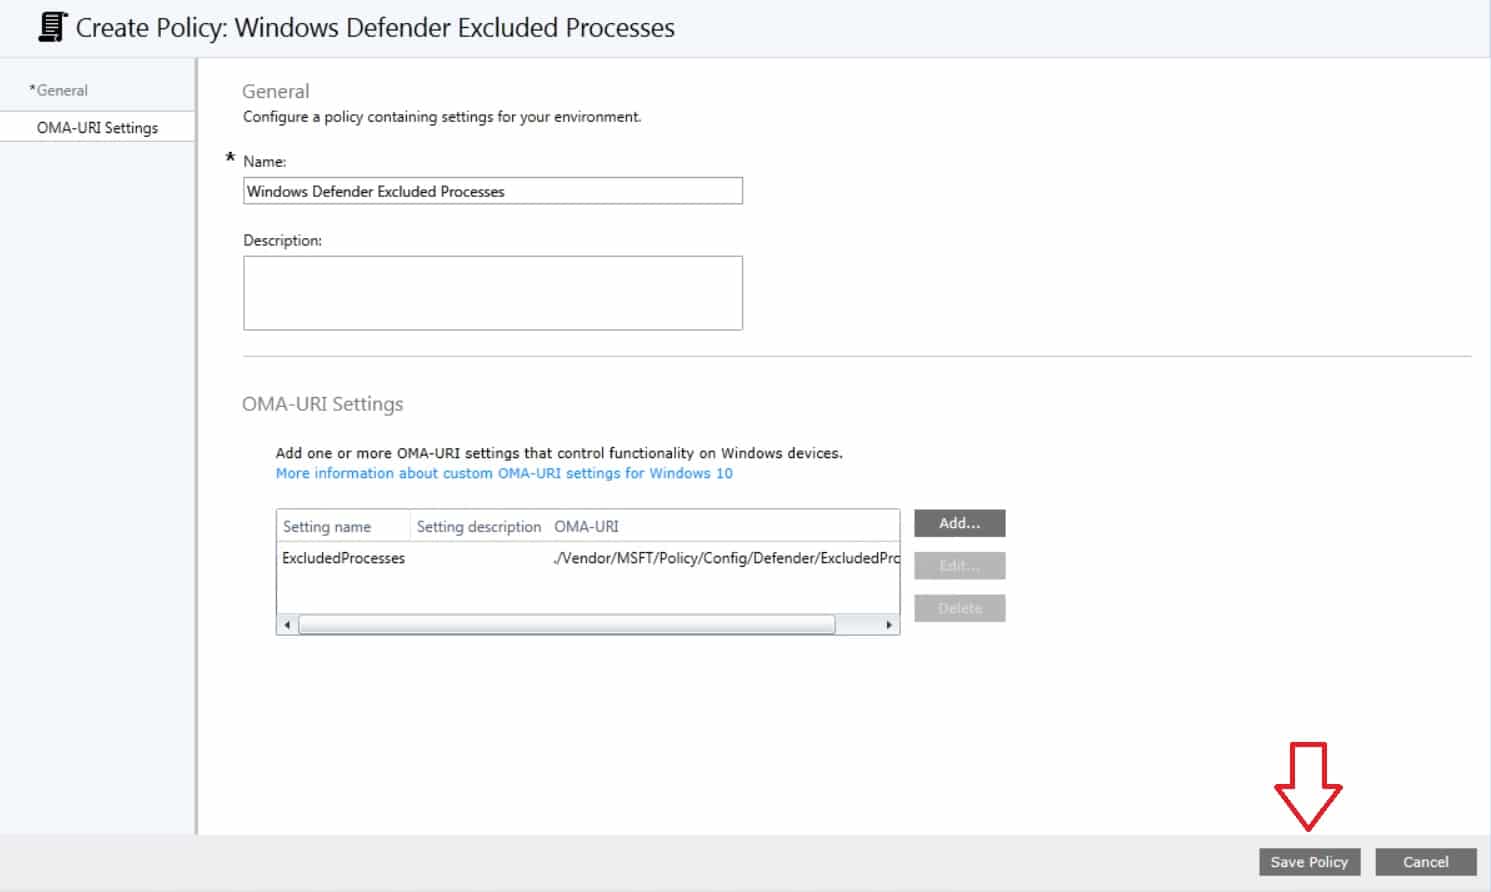
- Click on Save Policy.

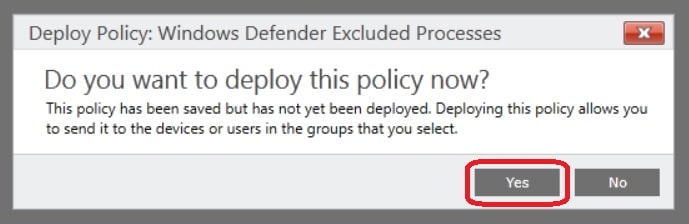
- When you’ve clicked Save Policy, you’ll be asked to deploy the policy, click Yes.

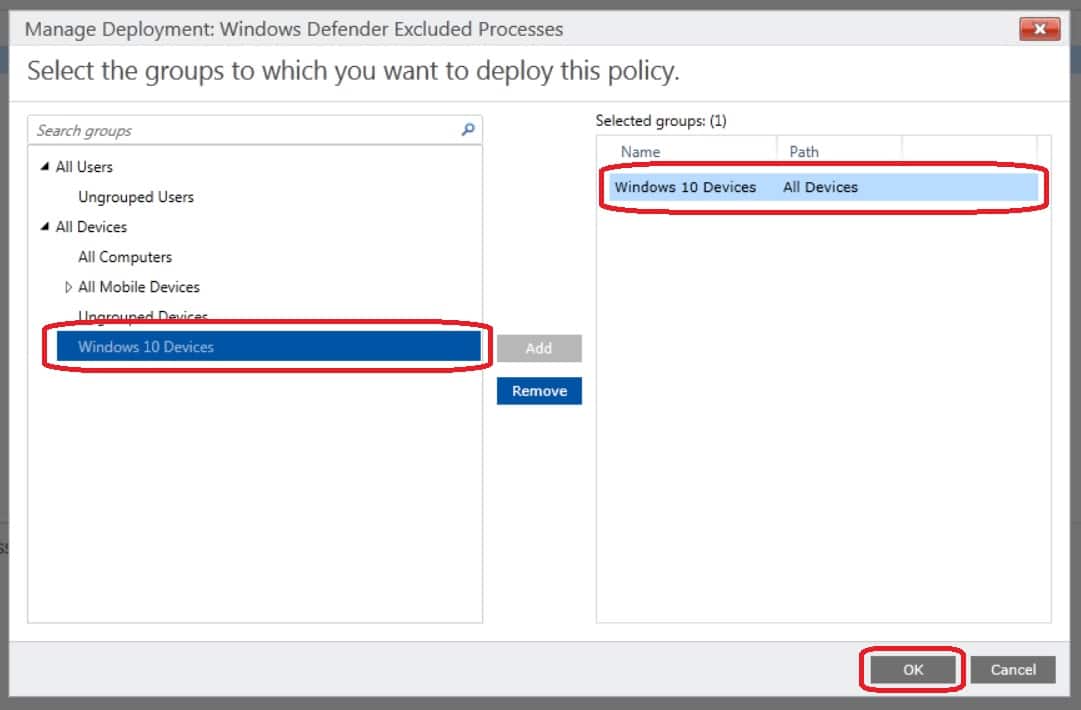
- Select the Windows 10 Devices group, click Add and then OK.

- We’ve now successfully created a Custom Configuration Policy for Windows 10 devices and deployed it to the test device. The next step is to verify that the policy has been applied to the Windows 10 device.

Verify OMA-URI setting
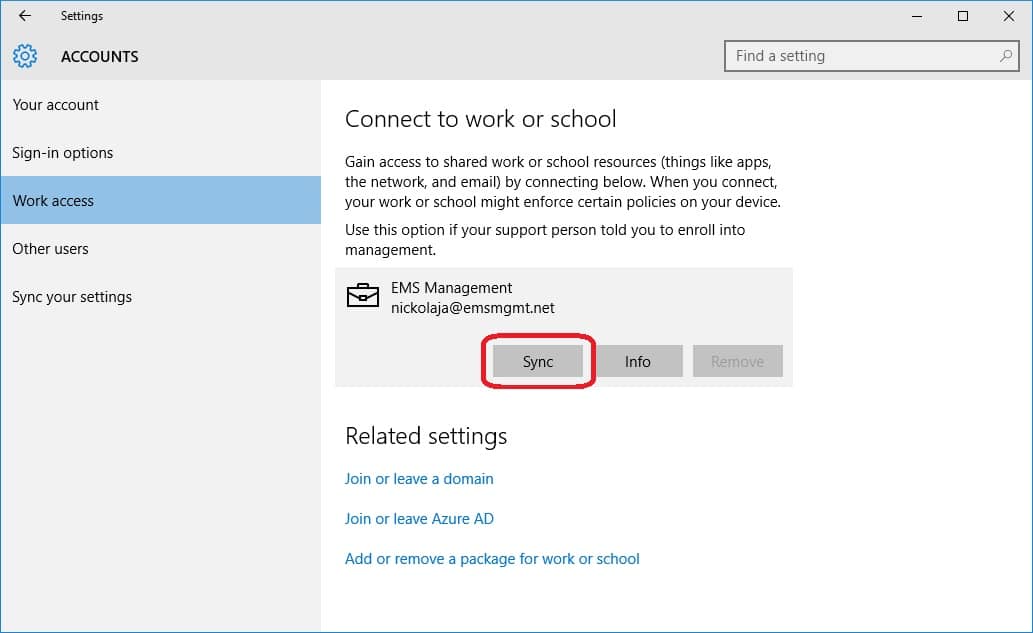
If you want to force a synchronization on the OMA-DM agent and not wait for the schedule to kick in, go to Settings – Accounts – Work Access, select the work place and click Sync:
- On the Windows 10 device, open Settings and go to Update and Security – Windows Defender. Scroll down and click on Add an exclusion:

- Scroll down to the bottom, and notice the C:\Windows\System32\notepad.exe process that have been excluded.

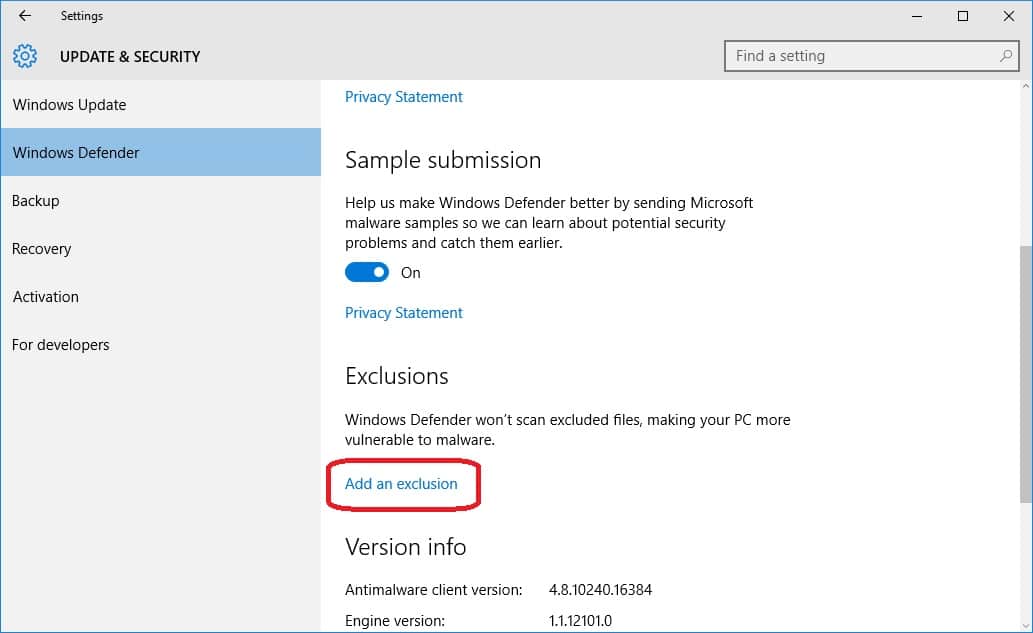
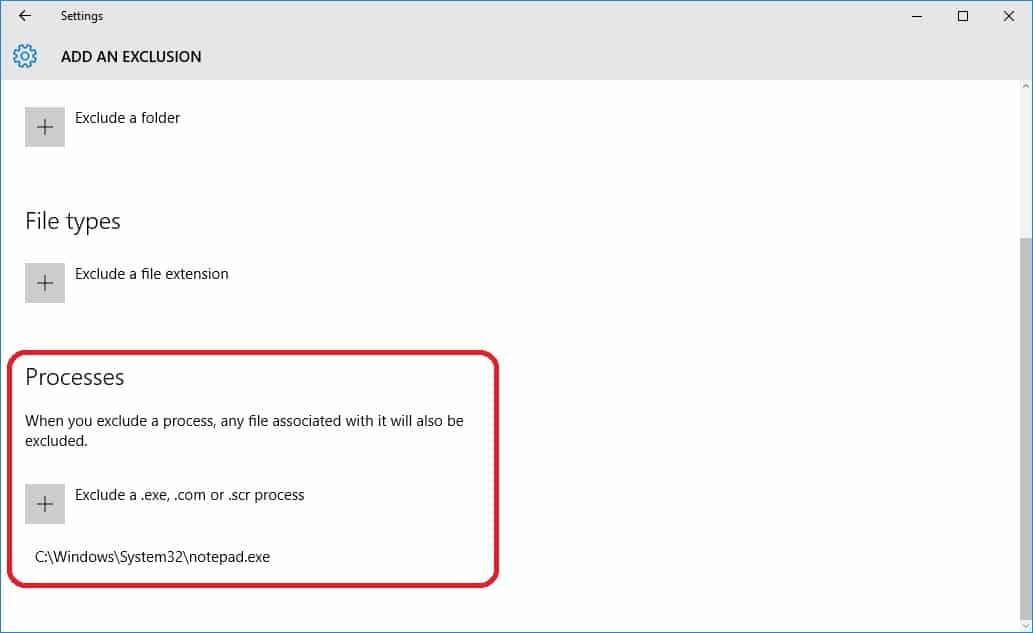
As you can see, the Custom Configuration Policy that we created and deployed have been applied to the test device successfully.


[…] Use Microsoft Intune to Manage Windows 10 […]